The complete guide to fat bike cranksets and bottom brackets.
Make a more informed decision on the right crankset/bottom bracket combo for you or your customer’s bikes.
If you want to skip ahead directly to the bottom brackets and cranksets section click on:
FAT BIKE BOTTOM BRACKETS
or
FAT BIKE CRANKSETS
Before getting to the main subject matter let’s recap why fat bikes are awesome.
WHAT IS A FAT (TIRE) BIKE? WHY WOULD YOU WANT ONE?
Yeah, what’s this recent addition to bicycle design all about?
3 things:
Convenience
Safety
Comfort
Only a fat bike has each of these elements dialed to the max.
SAFETY
The superb stability and the super-large contact patch that holds you to the road or trail keeps you on your bike and off the deck.
Plus, you are much more visible. Those tires really stand out.
CONVENIENCE
All year round riding.
Yep, no need to quit biking in the winter. Those fat tires roll over snowy and dangerously slick roads. There’s just no doing this on other bikes even fitted with snow tires and the like.
No excuse not to ride all year round when you’ve got your fat bike.
COMFORT
The big wheels roll over large obstacles; roll through deep ruts and trenches.
Fitting pneumatic tires to a bike in the early days was largely about comfort.The first — and still the most naturally effective — form of suspension.
There’s also almost no chance of it slipping out from under you.
FAT BIKE — PAST AND FUTURE
But like nearly other aspect of modern bike design this is a new version of an original invention.
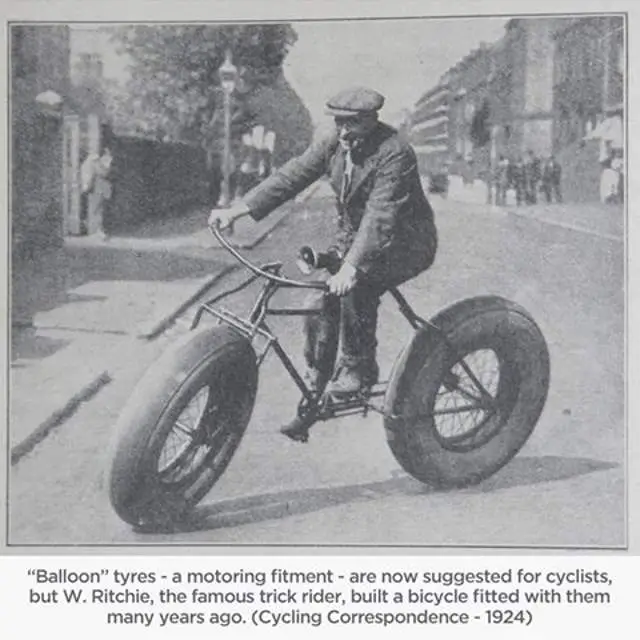
W. Ritchie, a bicycle trick rider was on the road in the early 1920s wowing onlookers with his “balloon tyres” bike (see photo above).
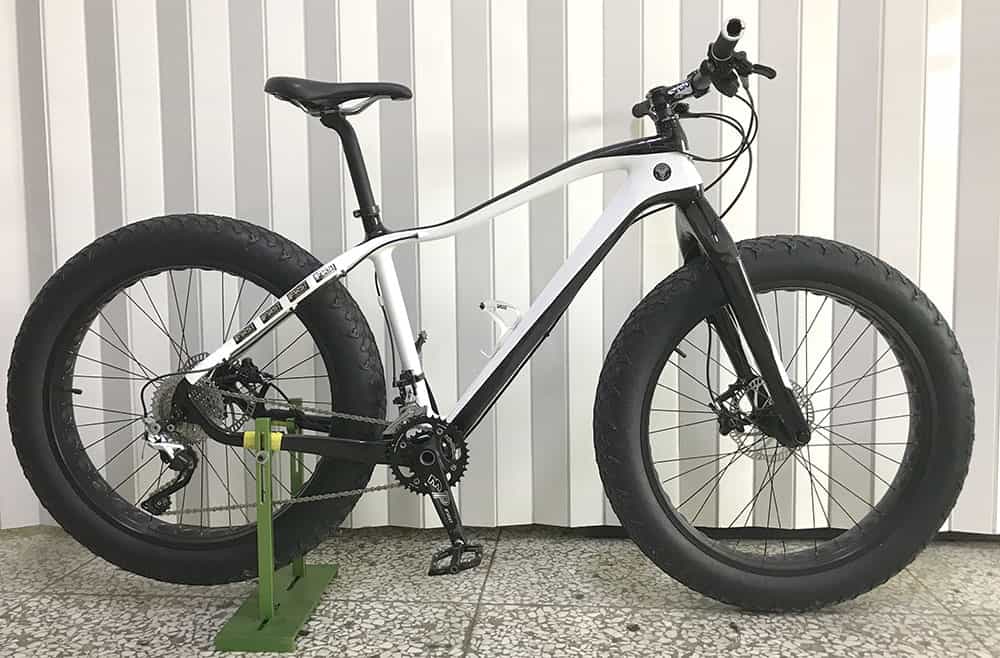
We have a fat tire bike that lives semi-permanently at the office … nope, doesn’t get out as much as it should.
Most people in the bike industry are actually not so familiar with fat bikes. When they spot the Fatty, they’ll often comment “Heavy!?”
“Well this one is carbon,” I reply, “No suspension fork helps as well. That’s a considerable weight saving right there.”
Hefting Fatty skywards, they are … enlightened.
But weight is pretty much a non-issue these days with electric fat bikes.
Mid Drive
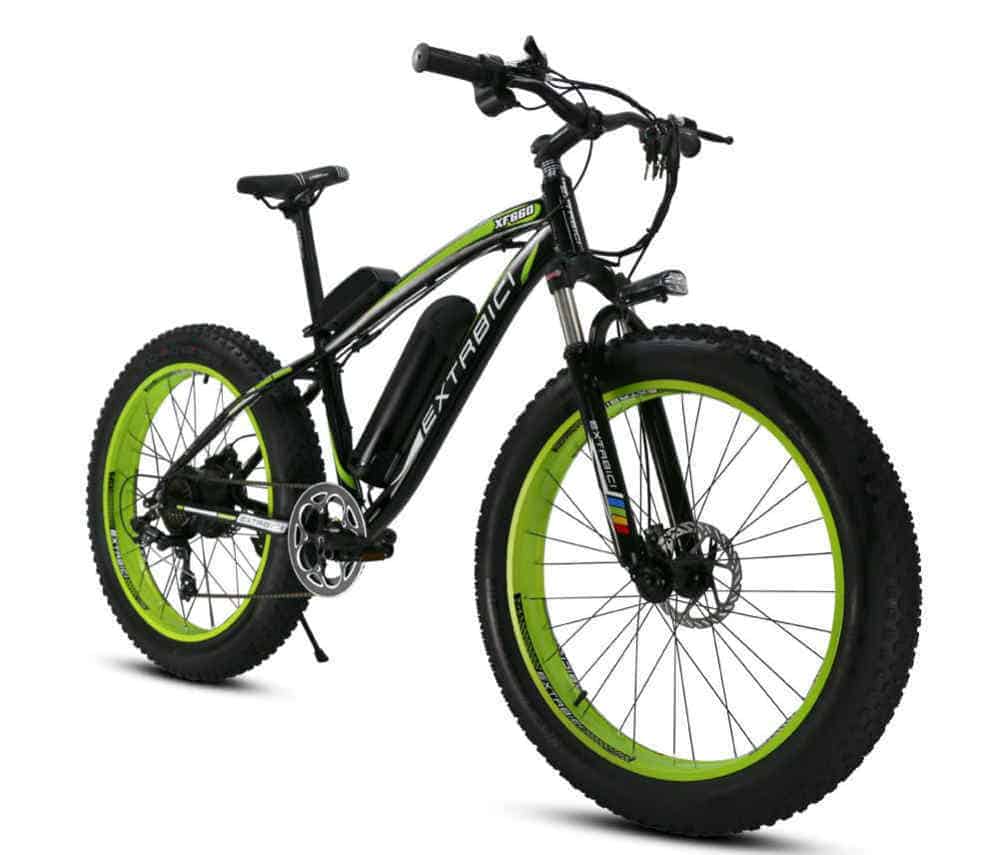
or Hub Drive
the choice is yours
Going electric negates the weight effect along with the increased resistance from the larger tire contact patch.
And if you go for a hub-drive electric fat bike then you’ll be looking for a nifty, reliable bottom bracket and crank combo to make it work.
Going into overdrive on a Fat Bike . . .
Technical Problems to be Overcome
With the first fat bikes tire width ballooned from around an inch in width to 3 – 4 inches.
This meant that the whole frame simply needed redesigning beginning with the BB shell, chainstays and rear dropouts.
190mm and then 170mm dropouts replaced the 135mm mountain bike standard. If you stay with 135mm, there is not enough clearance. Result: the chain hits the tire.
And, of course, the 68 or 73mm standard BB shell width will not do.
As a result there now exist a variety of bottom bracket sizes or, if you like, bottom bracket solutions to the signifcantly enlarged dimensions.
Let’s check out some of the options.
FAT BIKE BOTTOM BRACKET
There are three categories of sealed bearing bottom bracket/crankset combinations to choose from.
Their development charts the history that took us away from cup and cone bearings and one-piece cranksets to lighter and stiffer — basically more progressive — alternatives.
Cartridge Bottom Bracket – 1 piece square taper
Bearing Cups – threaded BSA
Press Fit – threadless BB92, BB86, BB30, PF30
Let’s look at each of these in turn.
Cartridge BB
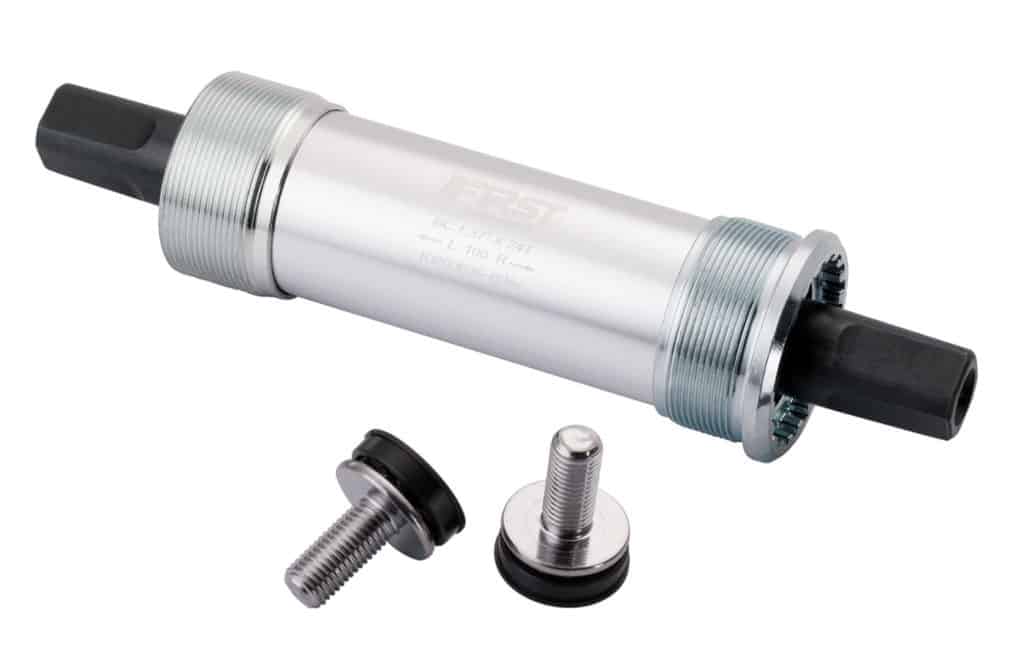
Yes, the trusty old square taper bottom bracket.
~Square Taper Bottom Bracket-The Ultimate Guide~
You really can’t go wrong with this ever reliable, low maintenance method to get a dependable crankset on your steed.
They are a bit heavier not least because of the cartridge’s mass of metal. There is also the added weight of both crank arms.
The F2001E model above fits your standard 100mm fat bike bottom bracket shell width.
Mount the cartridge into the BB shell. The the lockring threads into the other side.
The video demonstrates the process of removing a fat bike cartridge square taper BB and associated square taper cranks:
- Installing integrated bearing cups with their associated integrated cranks
- Demonstrating correct use of the proper tools
Bearing Cups
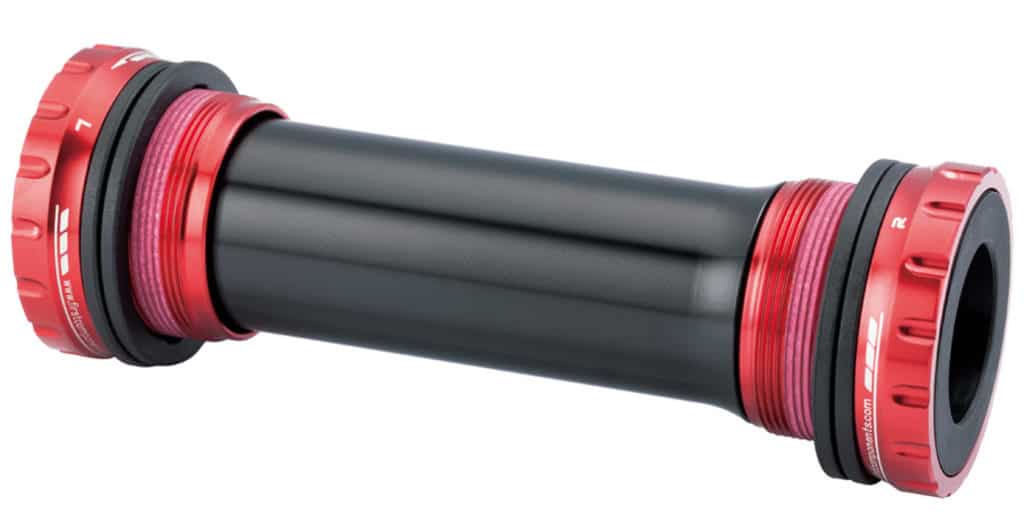
If you have a standard BSA/English bottom bracket shell, installing a bearing cup system is the best choice.
There is more variety and flexibility alongside of the significant weight reductions.
Two choices here:
1
A standard 100mm bb shell width with a 170mm OLD.
You could also have ceramic bearings fitted in place of the standard steel sealed bearings. Ceramic bearings give you a lighter crank and increased efficiency/reduced resistance.
2
A BB shell width of either 100mm or 120mm with a 190mm OLD.
BB92
The most “trendy” choice of the three, and the one to go for, unless you have a threaded BB shell.
Pressing it in is the tricky bit.
Here’s how you do it.
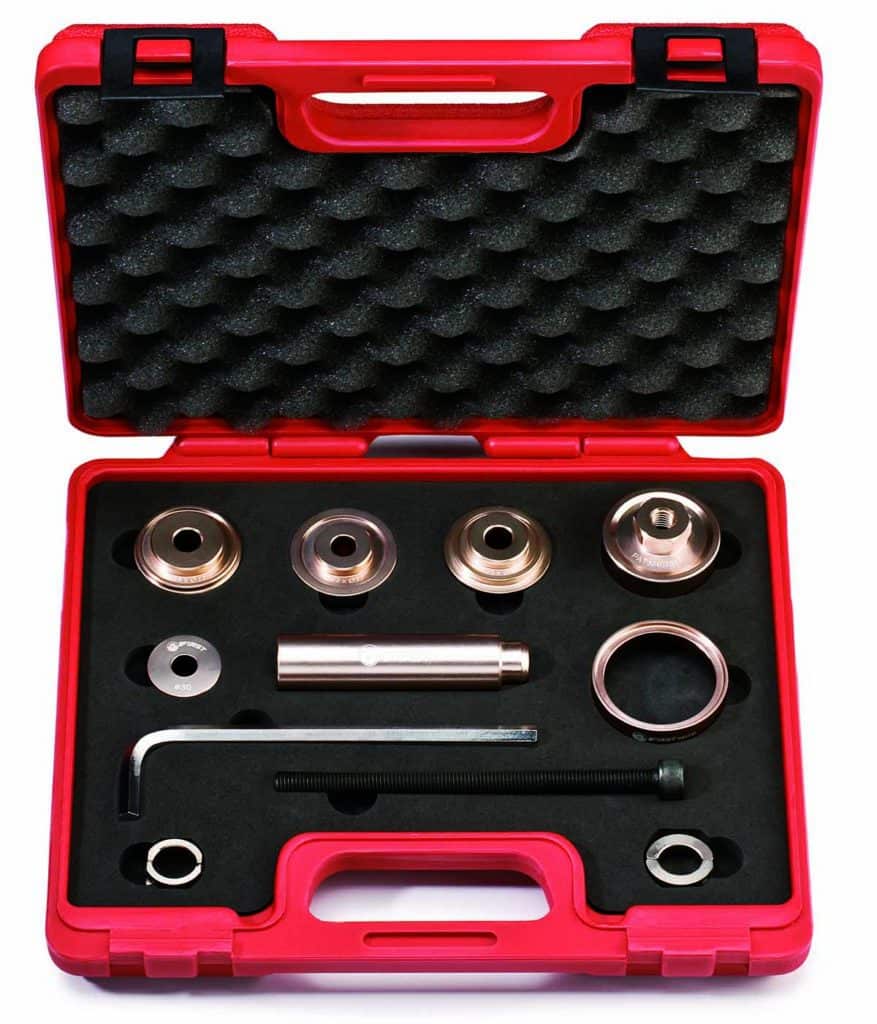
Having FIRST’s BB2430 toolset makes installation and removal super-easy.
The bolt, to which the tool’s press-in (installation) and press-out (removal) pieces attach, fit through BB shells up to 150mm wide.
No problems, then, installing your fat bike’s press fit BB into 100mm or 120mm wide BB shells.
We have demonstrated the press-fit process using FIRST’s patented toolset in our coverage of PF30 bottom bracket installation. There are only small differences in some of the tool’s components due to the different BB shell sizes involved.
Look for our post on BB92 / BB86 installation and removal later in 2019.
Here’s a brief summary of the principles of installation common to the range of unique toolsets we have available.
Each cup is installed separately, one side at a time.
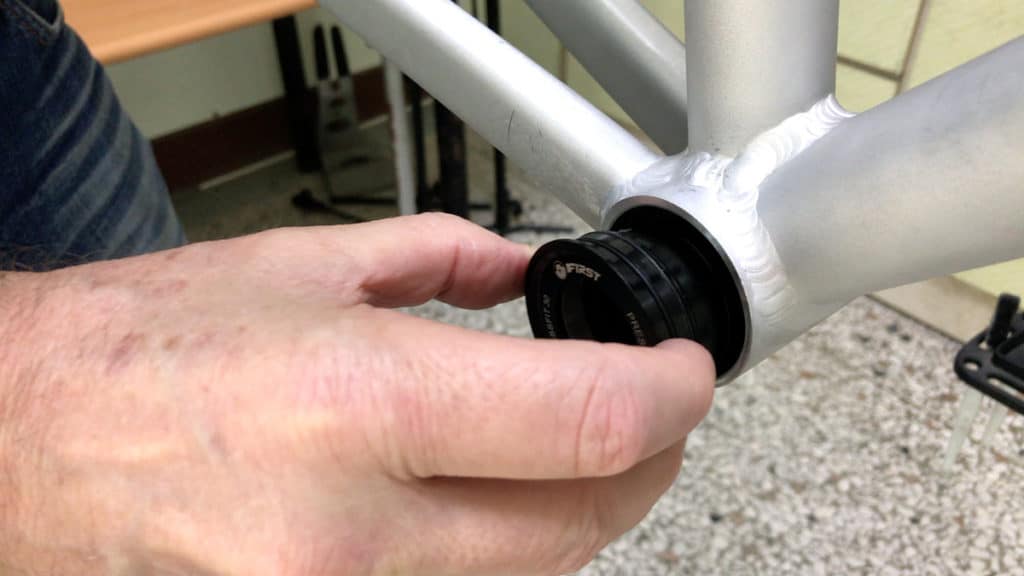
Insert the bottom bracket cup into the BB shell. Loosely, so it sits more or less square to the BB shell.
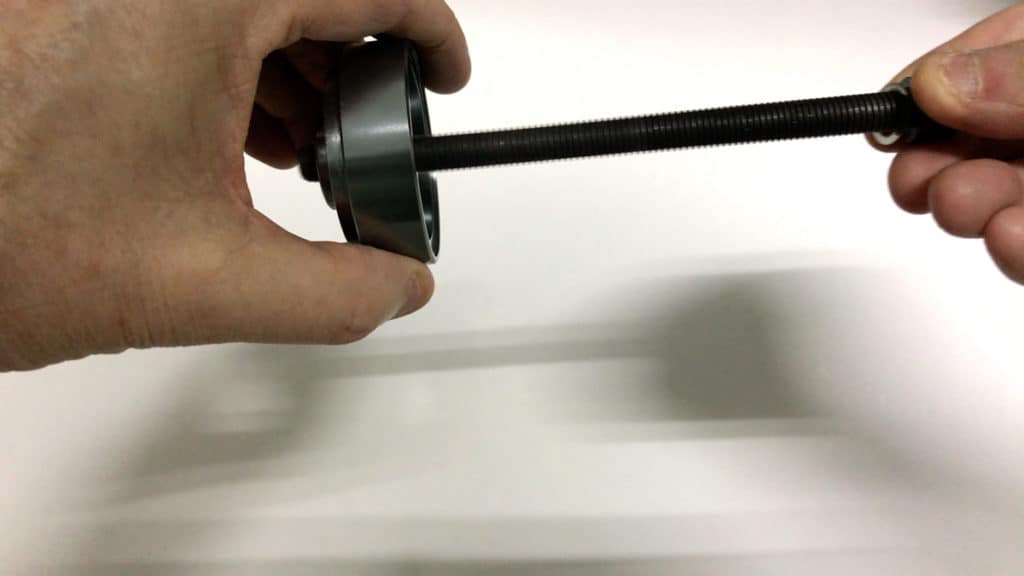
A bolt slips through a cup which fits over the BB shell lip.
That is, you thread the bolt from the opposite side from the bearing cup you want to install.
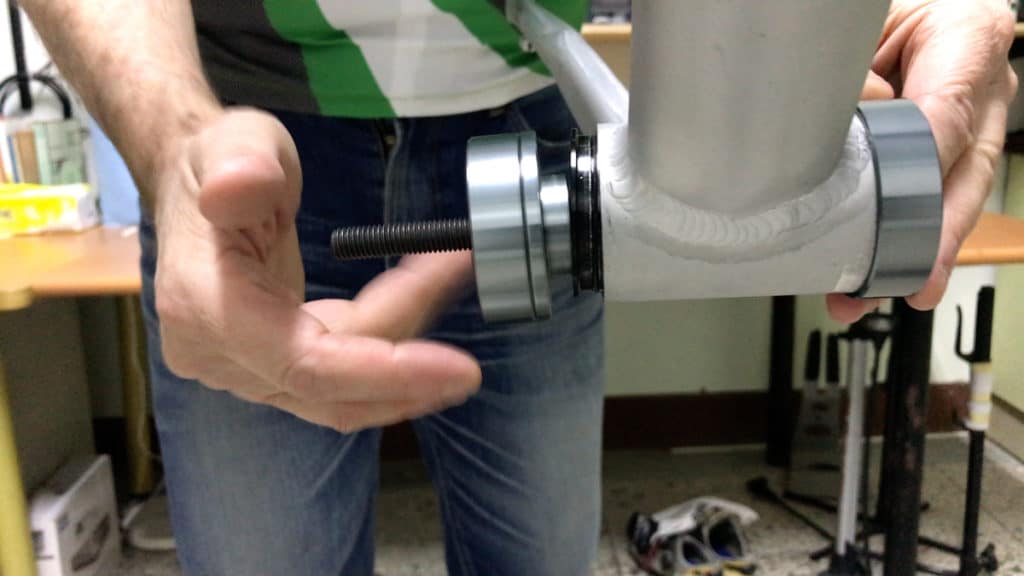
You see the tool cup on the right fitting snugly to the BB shell face.
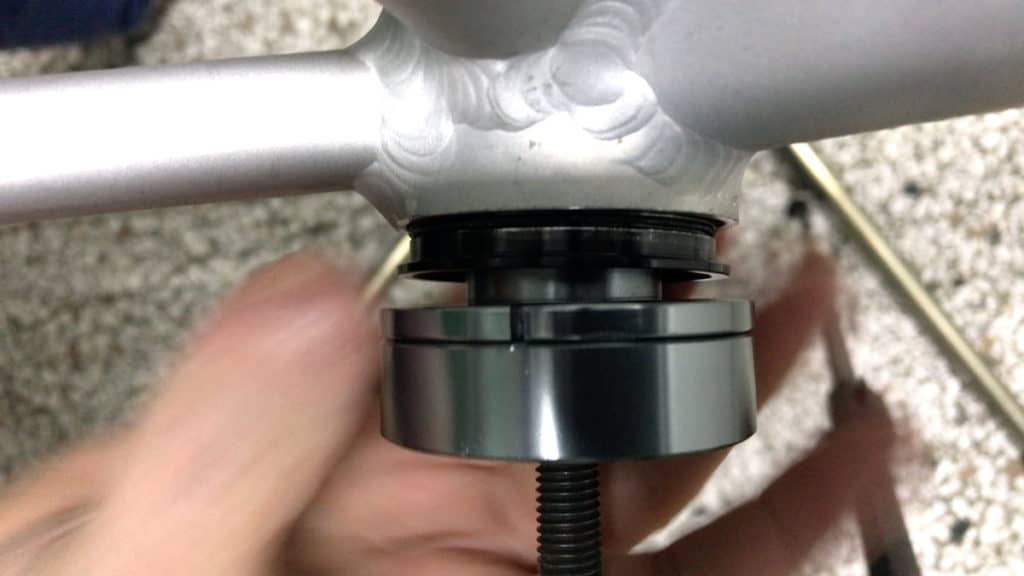
The piece on the left threads onto the bolt. It’s designed to fit exactly inside your bottom bracket’s 24mm internal diameter.
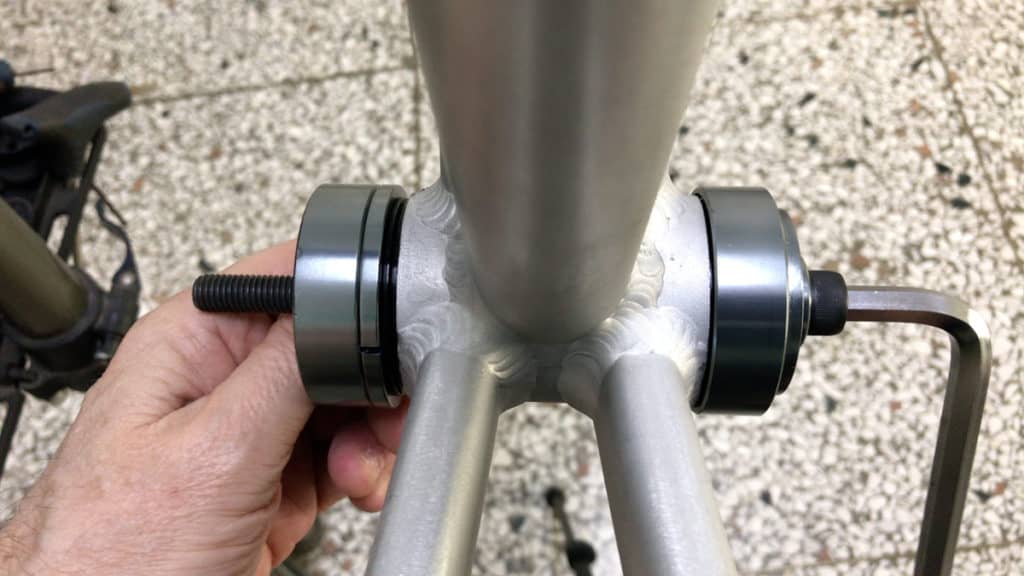
An allen wrench is all that you need to rotate the bolt thereby pressing the bottom bracket into the bb shell.
Turn the bolt smoothly and consistently. The gentle pressure slides the BB into position in less than 1 minute.
Removal is just as simple and takes even less time. Again, look out for the post on BB92.
FAT BIKE CRANKSETS — SQUARE TAPER
Let’s call this the entry level crankset, since this is the minimum you’d want on your fat bike.
This simple bolt-on design is reliable and durable. You only need a few simple, easily obtained tools to service and maintain, or even replace, this crankset yourself.
Our Youtube Channel has clear and concise videos on how to install and/or remove a square taper crankset.
Double Chainring
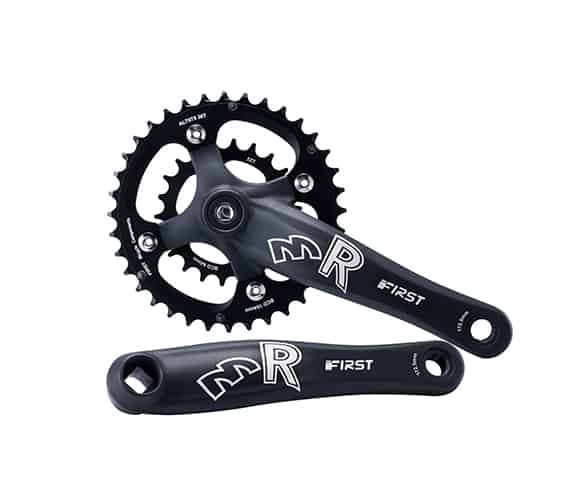
This crankset pairs with the 100mm square taper cartridge bottom bracket.
It is the choice for touring and where simplicity and (modest) weight savings are not important.
Watching ForestyForest living the fat bike touring dream will cause you to get a fat bike and go touring … within the year, by the way.
Well, maybe not.
The road is hard but would be MUCH harder on a conventional MTB.
Foresty employs a double chainring: 36T & 22T with a 10 speed cassette.
With a double chainring setup your range of gears is wider. You can find the right gear to match the pedaling cadence that helps you in the moment.
The perfect cadence “zone”, if you like, for any cycling situation always exists. Comfortably remaining in that zone is the trick.
Foresty’s thousands of feet of climbing over the weeks would have taken longer and a higher physical toll on him if all he had was a single chainring.
He patiently spins his way up the hills, completing an average of 60 miles per day over pretty tough terrain. (It’s not merely the climbing that causes him grief but the numerous punctures—his inner tube looks like a patch-work quilt!
With a wider gear selection you can dial-in the best ratio. Sure, you are doubling up on a few ratios across both chainrings.
But having those extra gears adds buckets to morale on extended touring adventures.
Those long, steep climbs become much more doable.
Pleasant even.
And there’s the technical/mechanical aspect: more efficient pedaling.
The wider gear choice gives you better chainlines.
That means for a given cassette, your chain won’t be on a such an acute angle in higher or lower gears which are further away from your chainline, in comparison with a single chainring. Add grit to your oiled chain and you’ve got a mini angle-grinder at work on chainring and sprocket teeth.
The double chainring benefit is the wear and tear on chain, sprockets and chainrings is distributed across both. Quieter too.
Single Chainring
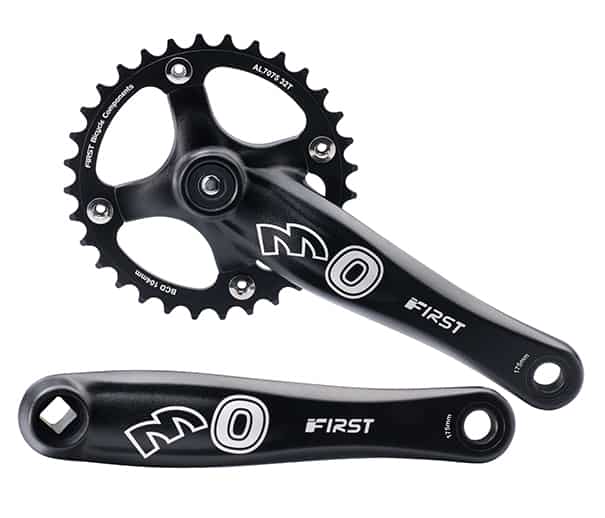
A single chainring crank is lighter due to the elimination of one chainring along with the front derailleur
Shifting is simpler.
Do you race your fat bike? Or maybe you’re thinking about racing?
Probably not.
But if you were considering racing, getting rid of that extra chainring reduces shifting pressure.
One less chainring is easier, less to think about. And just the one shifter means space freed up for other items (there’s always another gadget to play with).
Chainrings wear out, especially if you are riding a lot, particularly long distance. It’s good to have fewer of those to change.
Still, with the double you are distributing wear and tear over two rings so perhaps it all cancels out.
In the end, everything depends on what kind of riding you would like to do.
If you have the mechanical expertise, then you could have the best of both—have a single and double on hand to be swapped, one for the other, when riding circumstances demand.
Subscribe to FIRST’s Youtube Channel for clear videos on
- what tools you need
- how to use them
- clear and complete instructions
FAT BIKE CRANKSETS – INTEGRATED
An integrated crankset is the best choice for your fat bike—your mtb and road bike too for that matter.
A main advantage is the ability to fit one to a 120mm BB shell in addition to the standard 100mm BB shell.
You also have a chromoly spindle: chromoly steel alloy is lighter and stiffer than conventional steel.
That means a thinner wall on your spindle than is possible with standard carbon steel.
And stronger, to better withstand pedaling torsion-stress.
Double Chainring
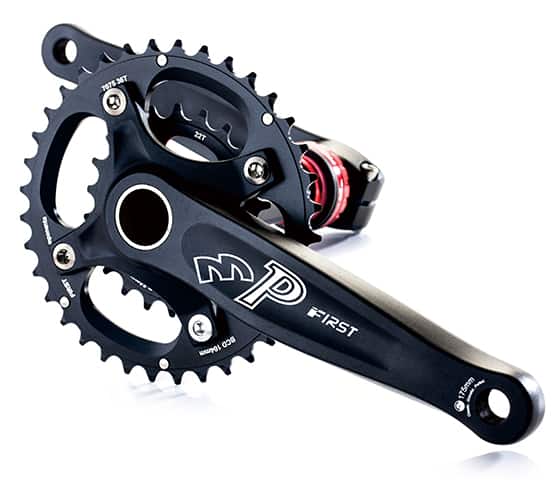
Everything that applies to the discussion on double chainrings above applies here.
The difference is that you have replaced the one-piece cartridge bottom bracket with two lightweight bearing cups protected from water and grit by a nylon sleeve.
Single Chainring – Narrow Wide 104 BCD
A narrow-wide chainring with a 104 BCD is the key attraction with this crankset.
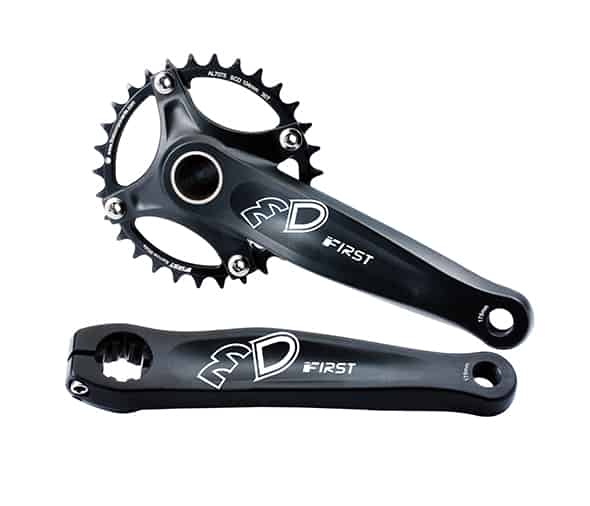
What’s great about this design?
No need to worry about the chain being shaken loose over rough terrain.
And so, no need for any sort of chain guide addition.
The chain is pretty much locked to the chainring without any increase in drag.
One tooth has a standard, narrow, sharp, sharksfin-like profile. The next is broad enough to completely fill the space between the plates of each chainring.
Each tooth-type alternates all the way around the chainring: wide, narrow, wide, narrow etc.
FAT BIKE Q FACTOR
A discussion of cranks demands some mention of the wider Q Factor and possible bio-mechanical problems that you might experience.
Firstly, q factor concerns riding efficiency for road or mtb in a pressured situation ie. a race or challenge event.
Optimal power delivery is the goal.
Sure, enjoying similar power optimization on your fat bike would be nice. But hardly necessary.
The fat bike experience is not about optimal efficiency. Some riders notice the q factor differences going from road to mtb for example. Others don’t notice anything.
It really does depend on individual body type and physiology.
Fat biking is all about the fun factor. Your fat bike will take you places other bikes have no way of reaching or dealing with.
Finishing Off …
Thanks for reading.
Let us know your fat bike experiences.
Have you had any specifically technical issues in maintaining or upgrading your fat bike crankset, bottom bracket or other components?
Or has it been “business as usual” for you?

4 thoughts on “Fat Bike Cranksets & Bottom Brackets”
hi there I am looking for a replacement crank spindle bolt for the MD fat bike cranks. m17x1.0?
Yes, m17 x 1.0
I have never built a bike but want to build a carbon (FAT BIKE) frame and put it together with all of the lightest components I can find. I presently have an old MTB (Alluminum frame) that has dual suspension (Rear shock and front suspension fork) and I was wondering if in my carbon frame building process, if it would be possible to build a CARBON “rear triangle” portion of the frame and mount it to this old MTB’s front triangle???
It appears to me that the only other thing that would have to be changed in the front triangle is putting in a wider 100 mm bottom bracket, so that the front chainring is out far enough to be inline with the rear gear set.
Is this possible? Or does the narrower length of my old MTB bottom brack (I’m really not sure how long this is but it surely isn’t the 100mm’s that a fat bike’s is.)
I guess my question is….
Is there a way to put a wider BB shell and the crank components that go into this wider shell, into a normal width MTB bottom bracket frame?
No the chain line wouldn’t be right.