“What is an eccentric bottom bracket and how does it work?”
“Is an eccentric BB on my mountain bike or my single speed a good idea?”
Those questions, and more, answered right here, in the most comprehensive guide to eccentric bottom brackets around.
And if you still have questions after feasting on this, be sure to let us know in the comments section below.
CONTENTS
What is an Eccentric Bottom Bracket?
How does an Eccentric Bottom Bracket work?
Eccentric Bottom Bracket Installation
Eccentric Bottom Bracket Adjustment
WHAT IS AN ECCENTRIC BOTTOM BRACKET?
Well, eccentric means “weird”. Right?
You know…like, “That guy’s ok … a bit eccentric though…not dangerous mind you, nothing to worry about … just a bit off-center you might say. He’s planning to do the RAAM on a bone-shaker…”
Off-center is definitely one way you could put it.
Literally.
With a standard bottom bracket, the sealed bearings rotate around the bottom bracket’s geometric center ie. the center of the spindle, which is also the BB’s geometric center.
In contrast an eccentric bottom bracket’s sealed bearings independently rotate as a unit around the geometric center of the BB shell.
This unique, bestselling EBB is available for purchase directly from FIRST Components.
Think of planets around the sun, the sun being the BB’s geometric center (pretty small sun come to think of it…but you get the point).
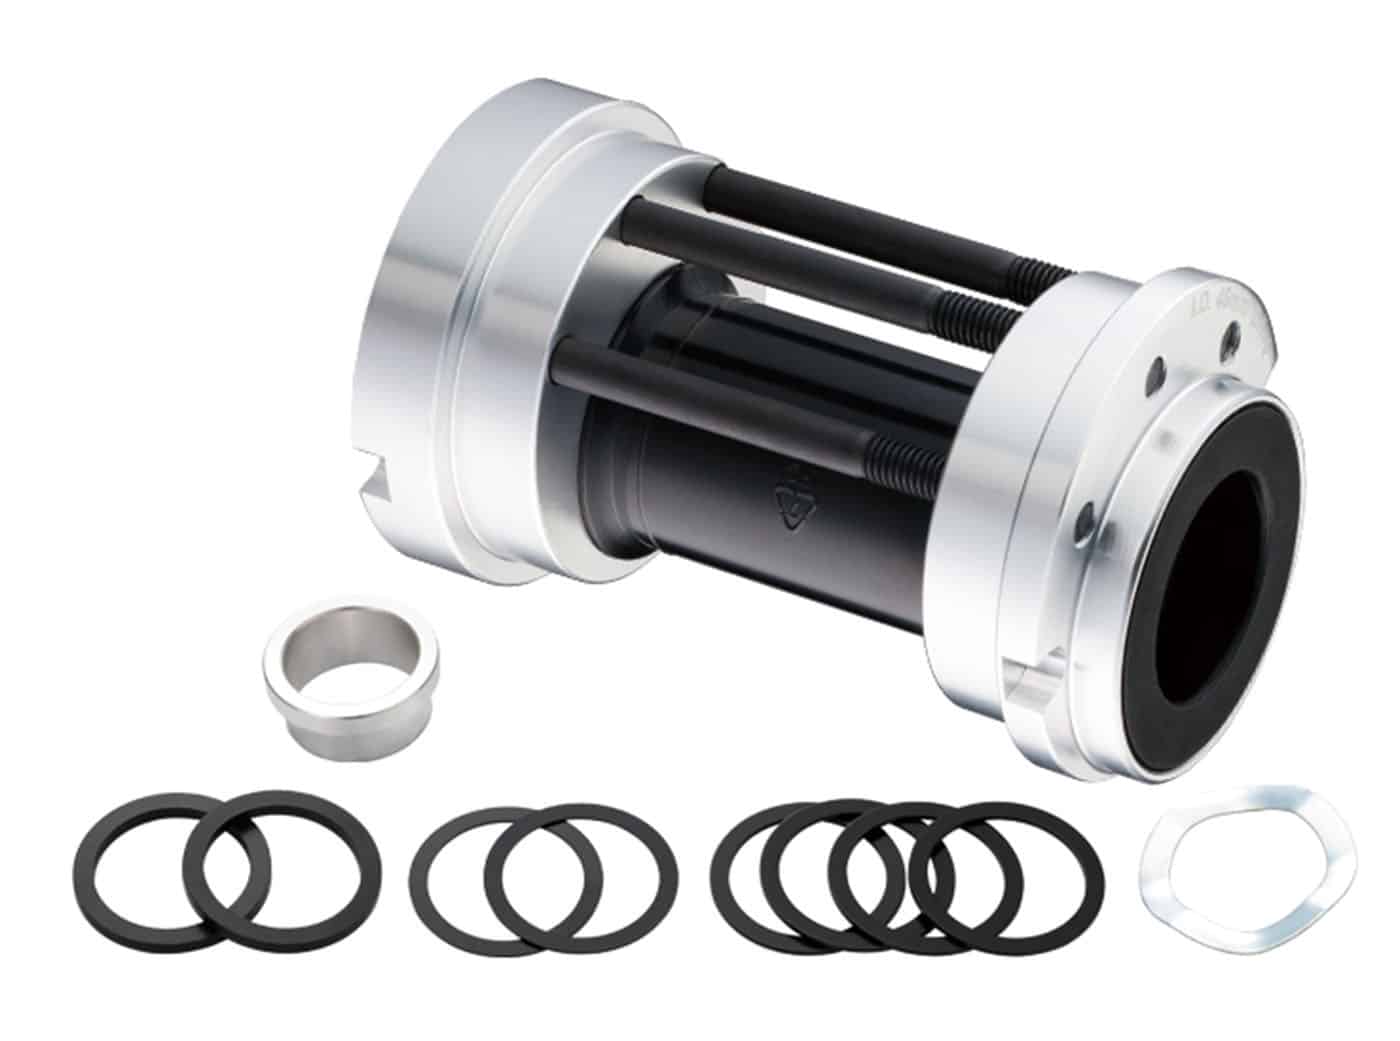
There are two types of eccentric BB.
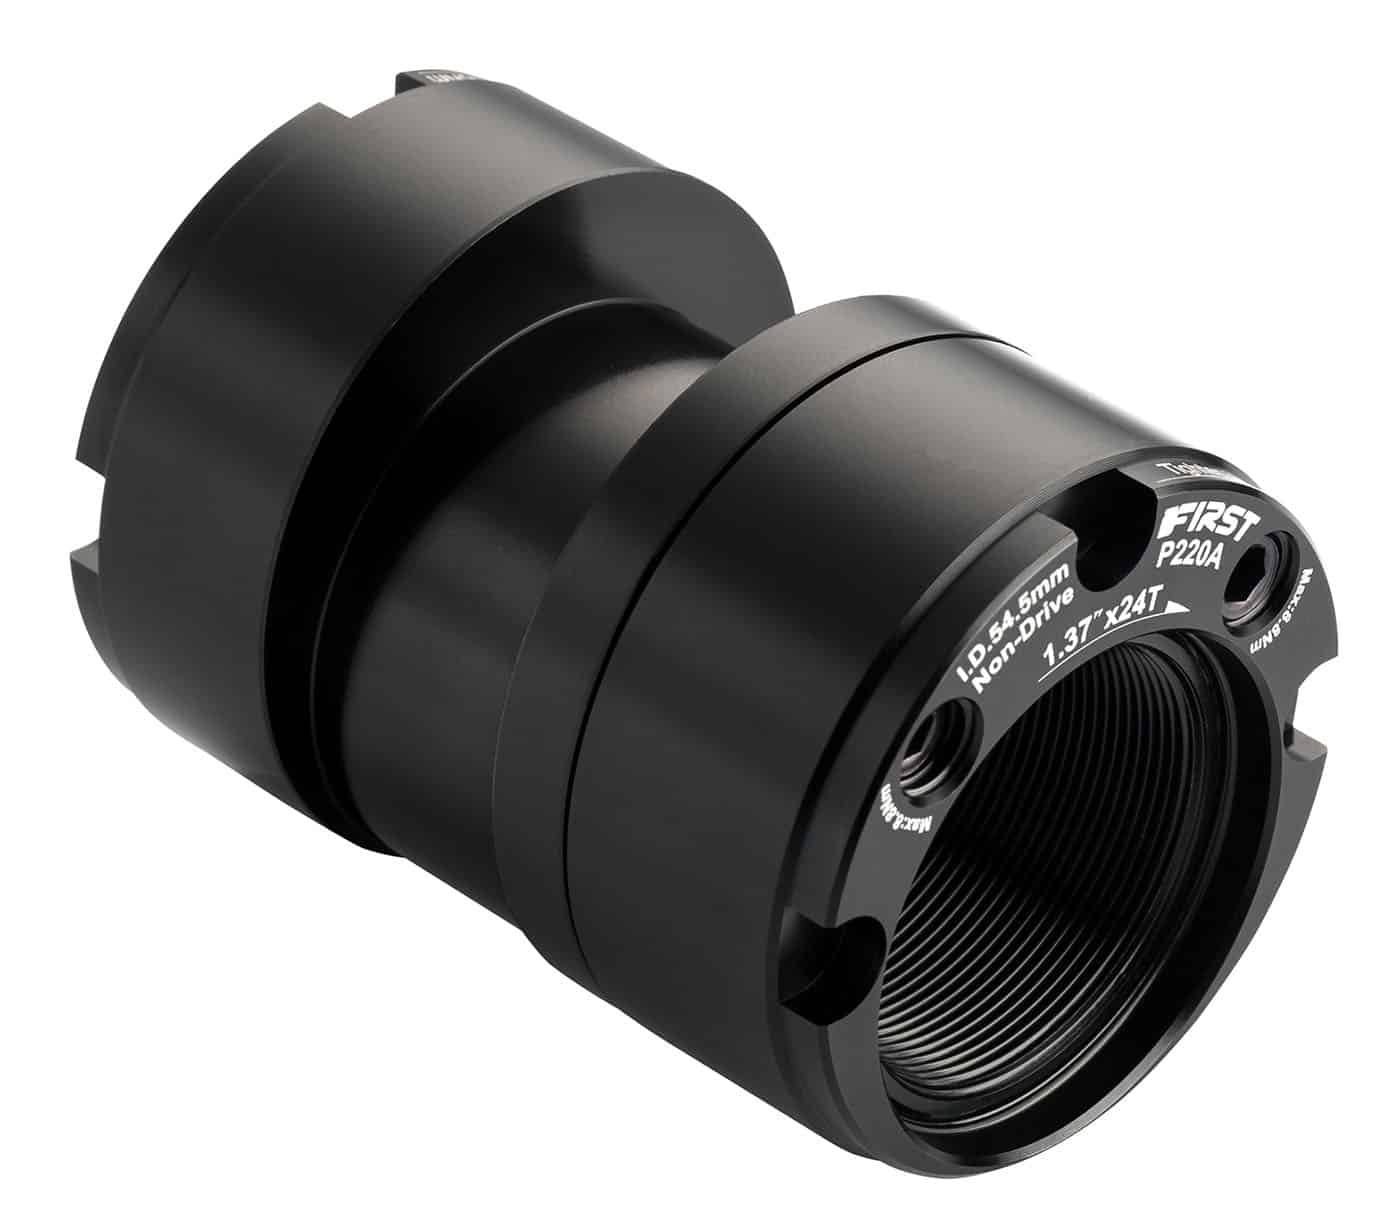
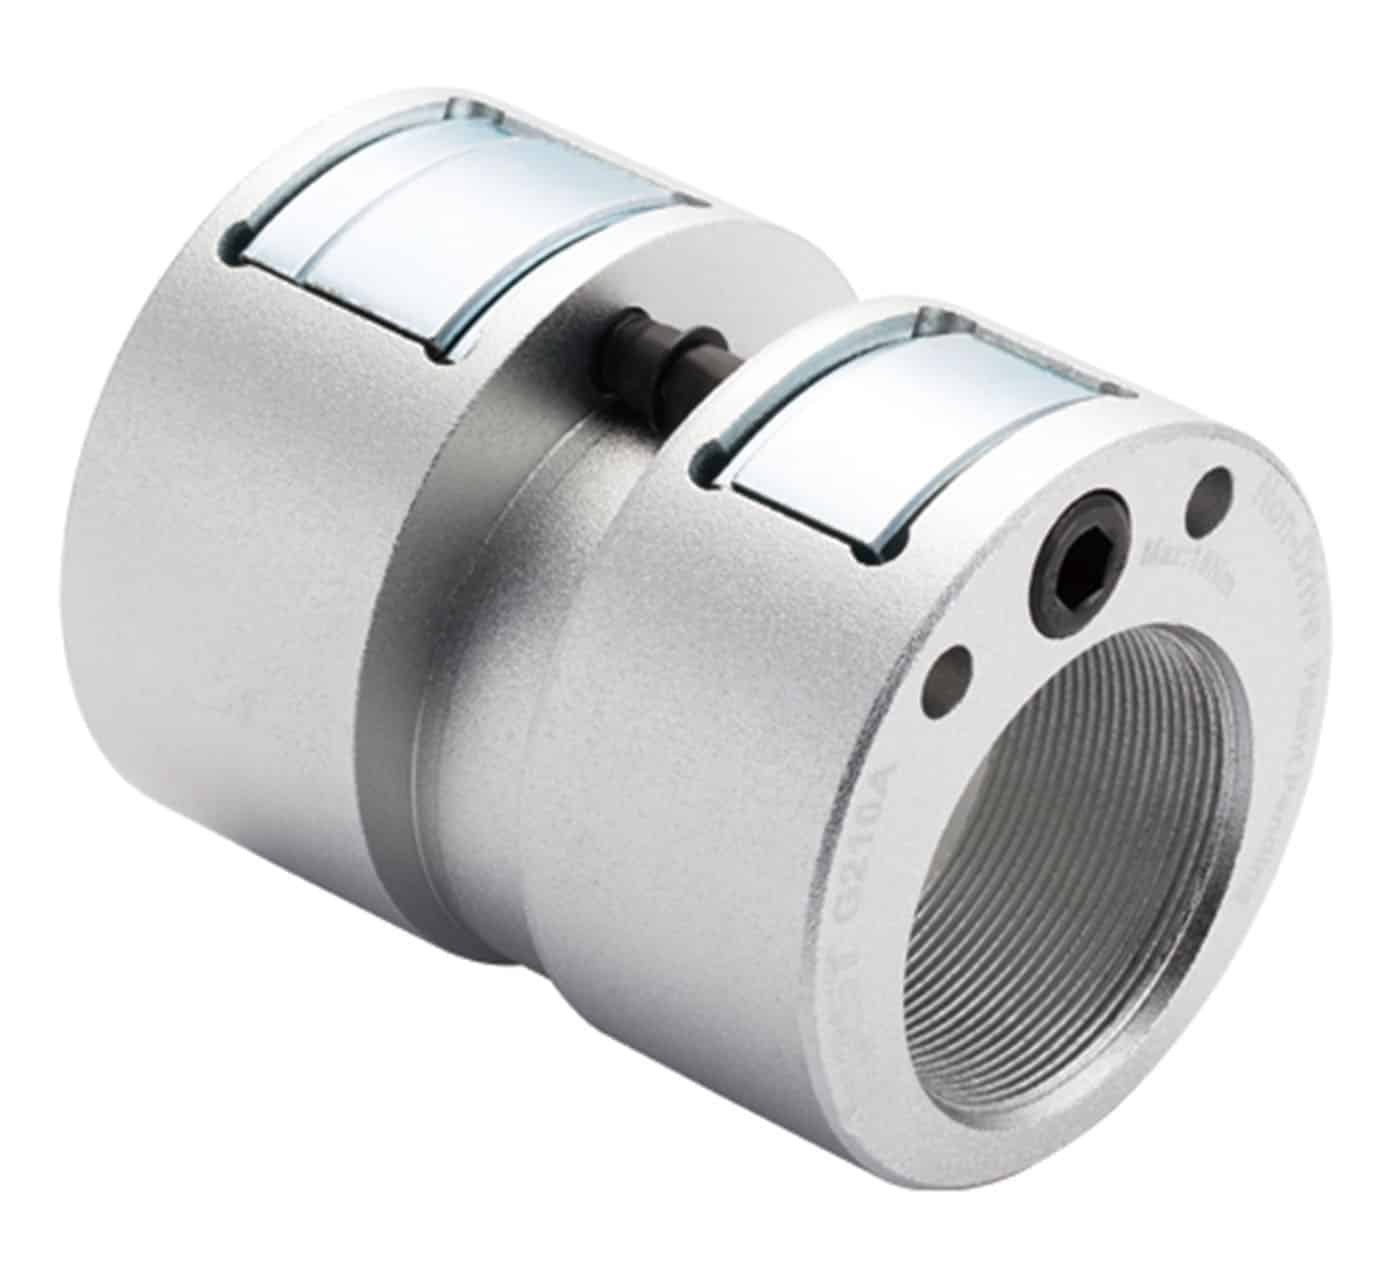
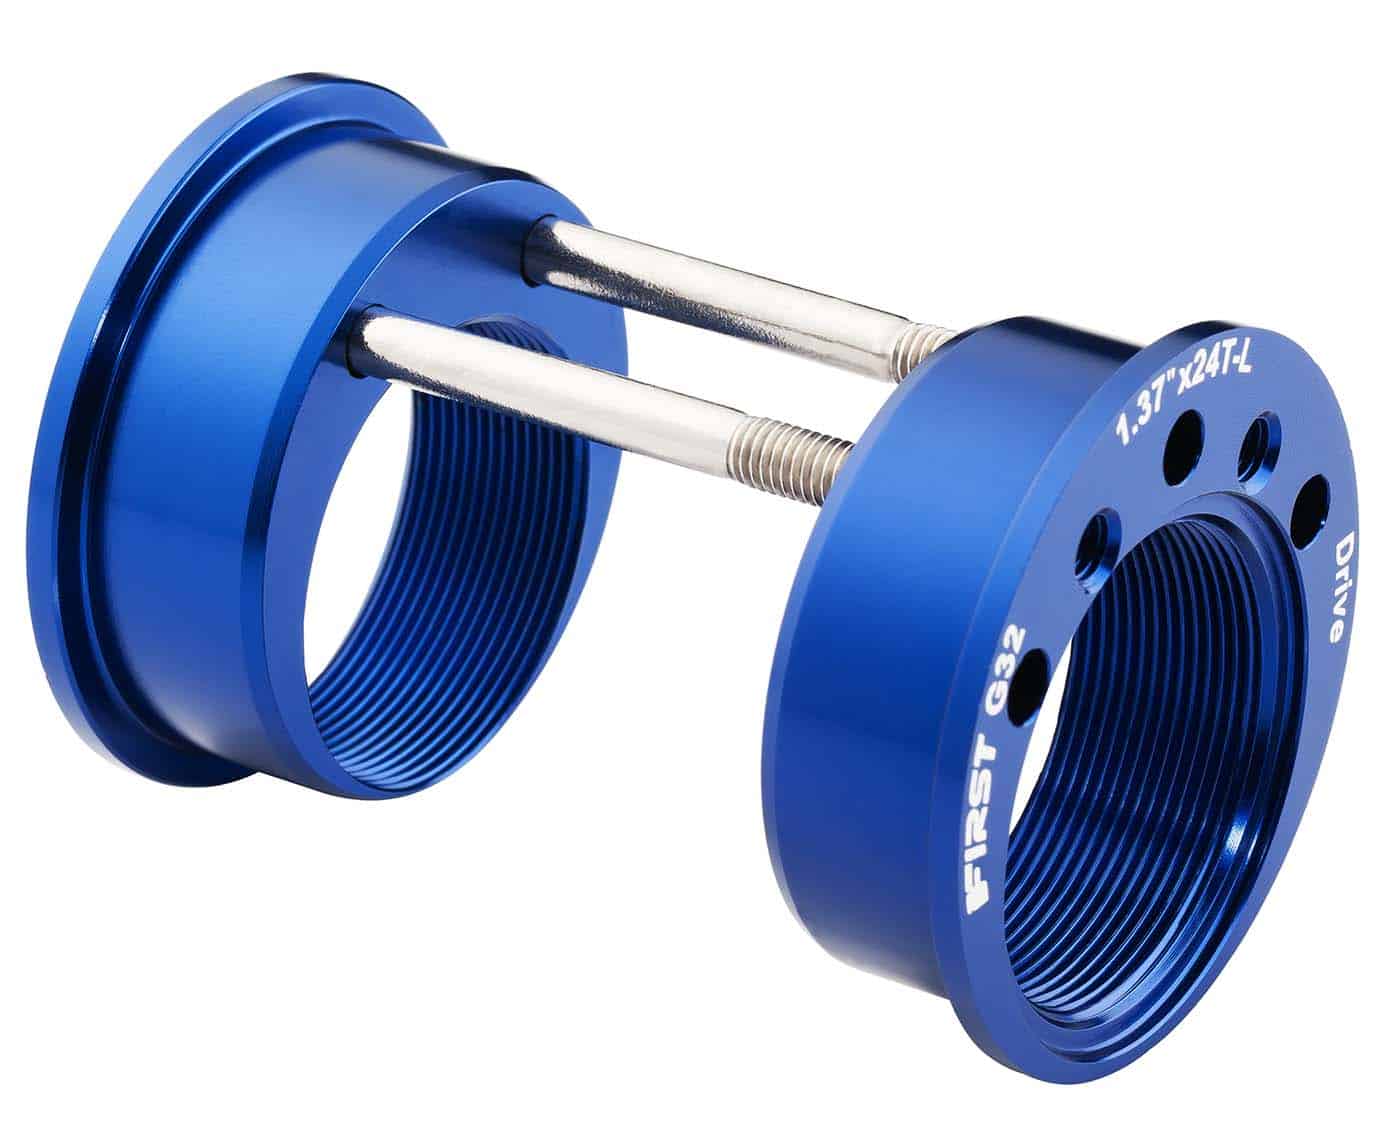
The first type is those that accept a threaded bottom bracket.
This model does not contain any sealed bearings. You insert the eccentric bottom bracket into the BB shell then tighten it into the shell.
They are closer to an adapter than a fully-functioning bottom bracket.
The bolts either
- expand a section of the BB against the BB shell, or
- pull/press the cups into the shell similar to a press fit model.
The specific bottom bracket you intend to use then screws into the eccentric bottom bracket unit.
The eccentric effect (chain tensioning or BB height) comes through loosening the bolts, then rotating the unit containing the bottom bracket as a whole.
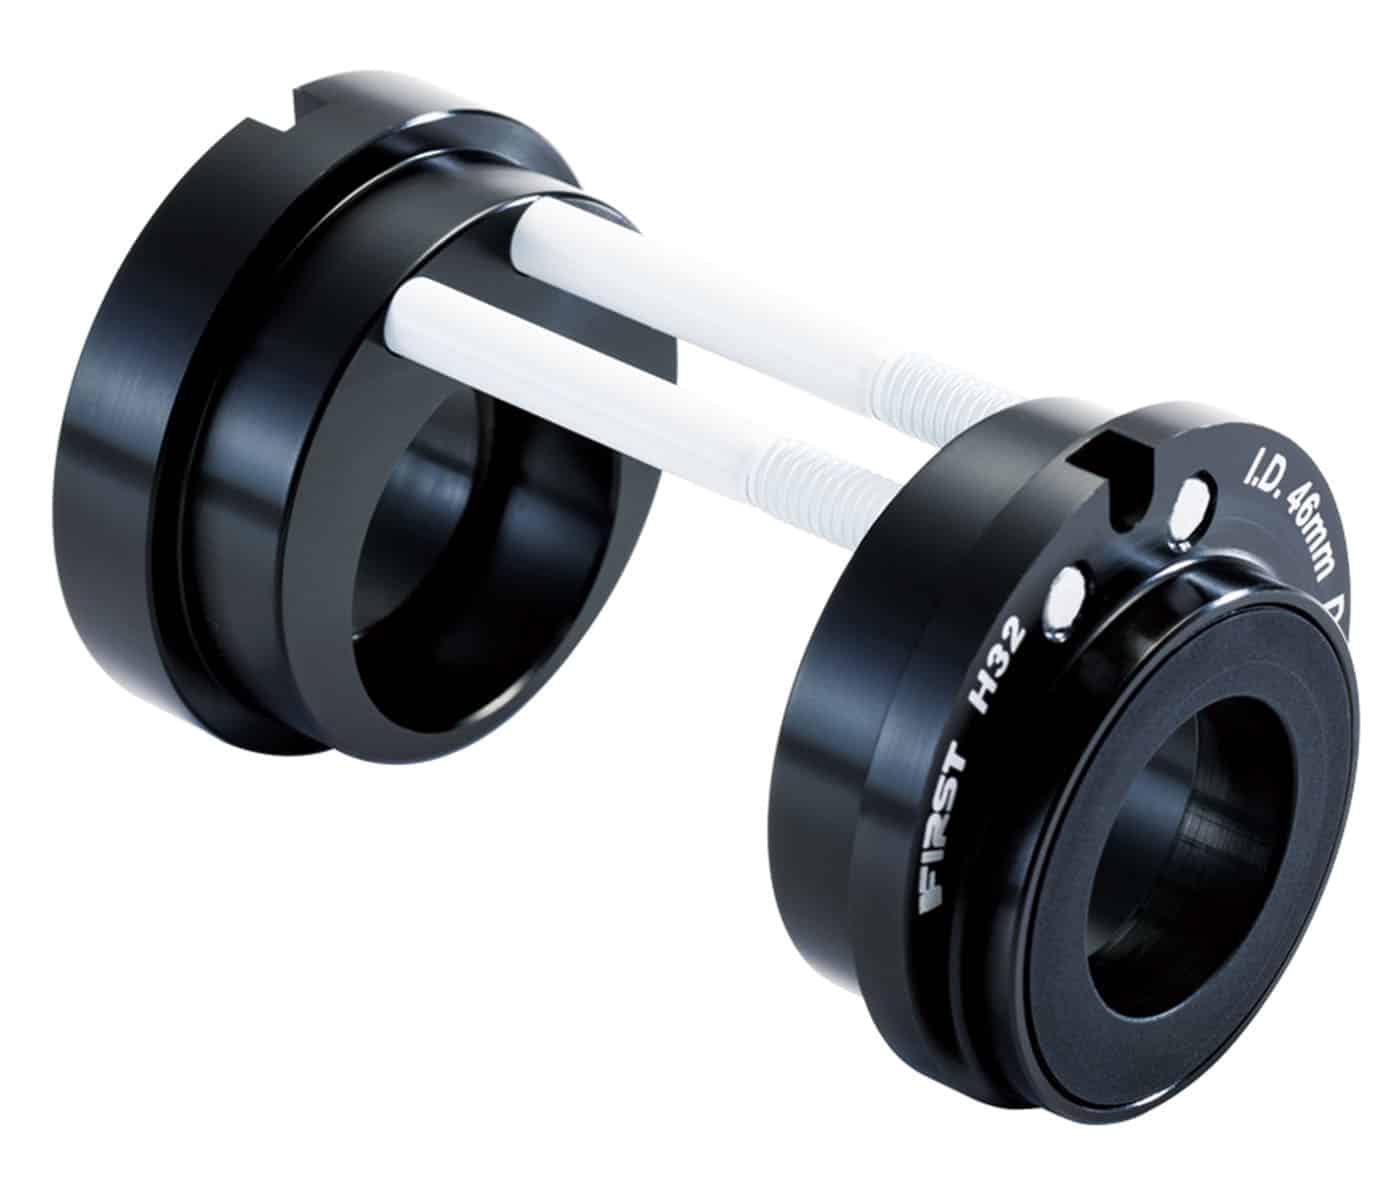
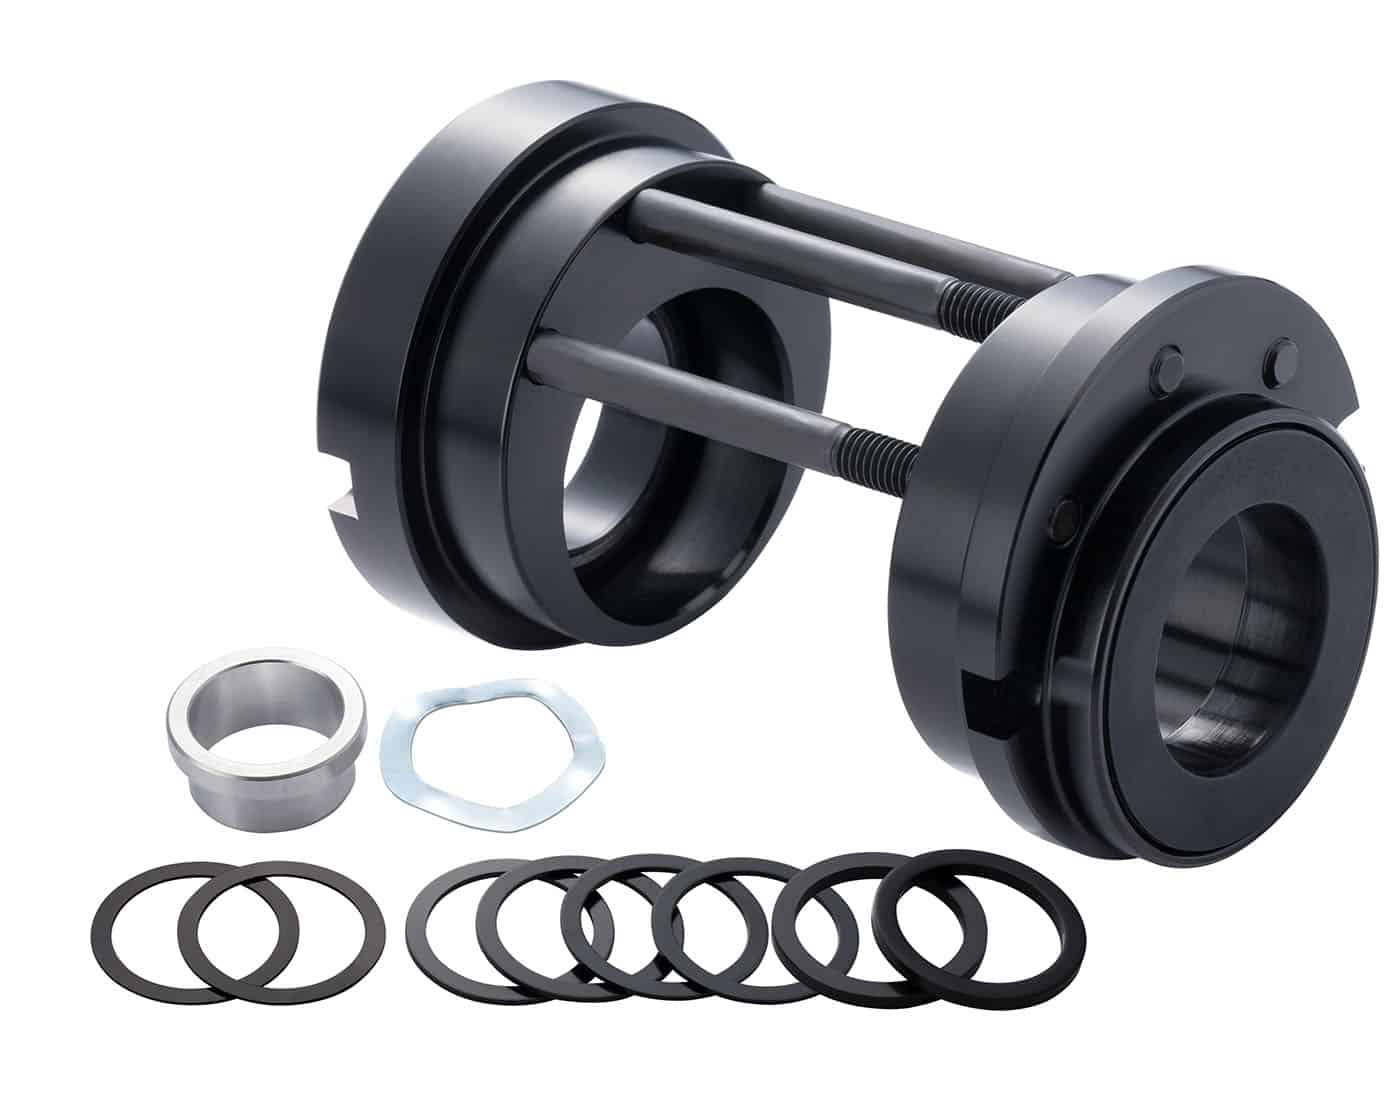
The second type house bearings and directly accept an integrated spindle—they are complete bottom brackets in themselves.
The mode is press fit: tighten the bolts to install.
Then you install your 24mm integrated spindle crank, adjust the fit—you may need spacers depending on what crank you have—tighten all bolts to within the correct torque tolerance.
You adjust the eccentric BB’s position through loosening the bolts, rotating the bolts and re-tightening once you’ve got the right setting.
Also check out our T47 Eccentric BB. It might be just up your alley!
HOW DOES AN ECCENTRIC BOTTOM BRACKET WORK?
To find the answer, let’s look at what they are designed to do and then what they actually do.
Eccentric BBs perform two functions:
- chain or belt tensioning—horizontal movement.
- bottom bracket height—vertical movement.
Chain & Belt Tensioning
“I just can’t wait to tighten my chain”
said nobody anywhere at any time in the more than 100 years since the safety bike was invented.
Yeah, I sooo love it … just too much fun … finding the adjustable wrench, fiddling, finessing and cursing the jigger into the right fit to the wheel axle nuts … loosening the nuts on both sides … getting the chain tension more or less how I want it, then tightening the left side, then centering the wheel, then tightening the right side … nah … not quite right *&$% it … loosen drive side nut again …
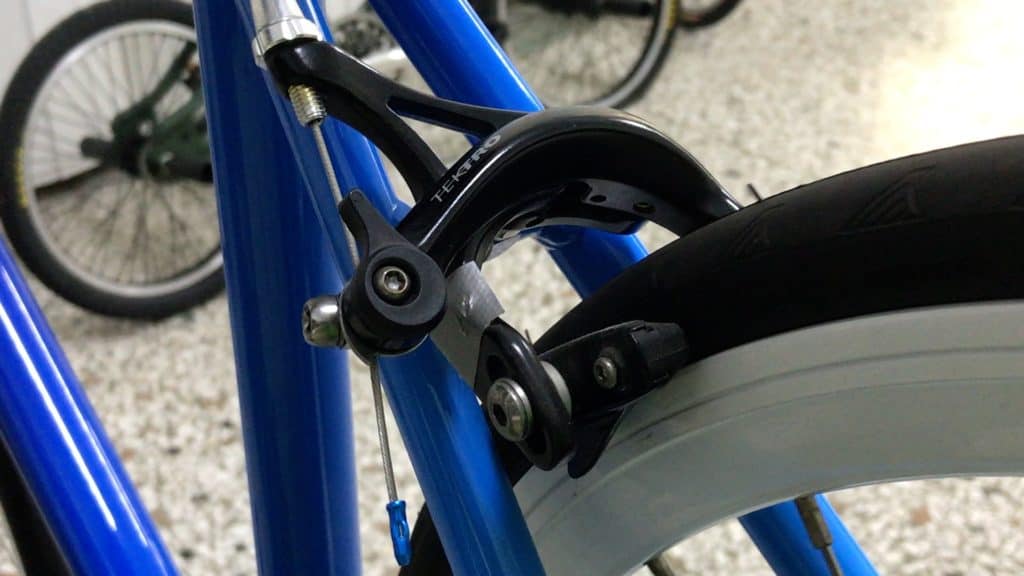
damn … left the brake lever up as well … no wonder I couldn’t drift the back wheel imagining I’m Wile from Premium Rush … ?
When you rotate an eccentric bb there is both horizontal and vertical movement since the unit moves in an arc.
On a single speed we take advantage of this horizontal or forward and aft movement.
You loosen the tension bolts built into the eccentric BB, easily rotate the unit until the chain or belt reaches the right tension.
Then tighten the bolts. The tension is maintained just as you like it.
The added convenience factor is that you can do this anywhere with a minimum of fuss. No turning your bike upside down.
Surely the tandem rider’s nightmare by the way!
On a mountain bike we take advantage of the vertical movement.
Before I turn to mtb bottom bracket height adjustment, let’s briefly touch on a few technical details.
Mountain Bike BB Height
With an eccentric bottom bracket you are able to quickly and easily adjust your bottom bracket height.
But, so what?
What difference does it make? Any at all?
On the subjective side of things, the answer is it depends on the rider.
Every cyclist’s riding experience is different because we’re, physically different.
Every rider’s total history of involvement in the sport gives them a unique outlook and preferences setting them apart from every other.
Every rider also has a certain level of physical adaptation to the mountain biking discipline.
Add to this objective aspect the aspects of the bike itself—the particular model, the spec, and notably the suspension plus presence or absence of a dropper post—then you’ve got a unique mix.
Add to that again the trail conditions (rocky, flat, or somewhere in between) means there is no single definitive answer to the question.
If you are interested in the nuances, a wide ranging discussion of all the issues is available on this MTBR Forums thread.
ECCENTRIC BOTTOM BRACKET INSTALLATION
I’ll look at single speed first, and then mountain bike.
Check out the video for a detailed demonstration of how to remove your existing bottom bracket and install the model we examine in the rest of this post.
This unique, bestselling EBB is available for purchase directly from FIRST Components.
For the most comprehensive coverage on removal and installation of a square taper bottom bracket check out this article.
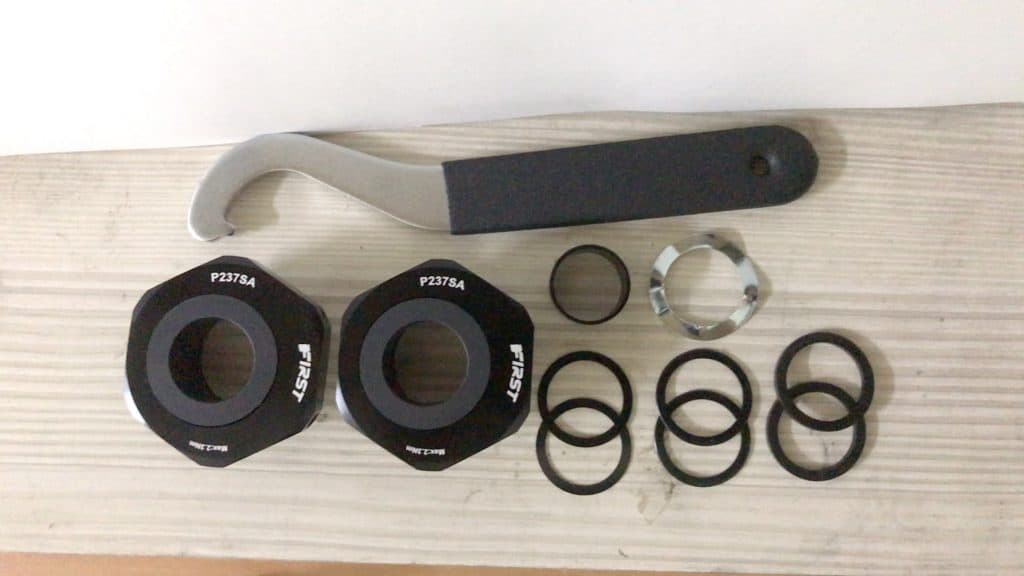
This unique set fits into a standard BSA BB shell.
The eccentric effect is achieved by offsetting the sealed bearings within a pentagonal structure.
Unlike most other eccentric models, the bolts on this model are uniquely positioned.
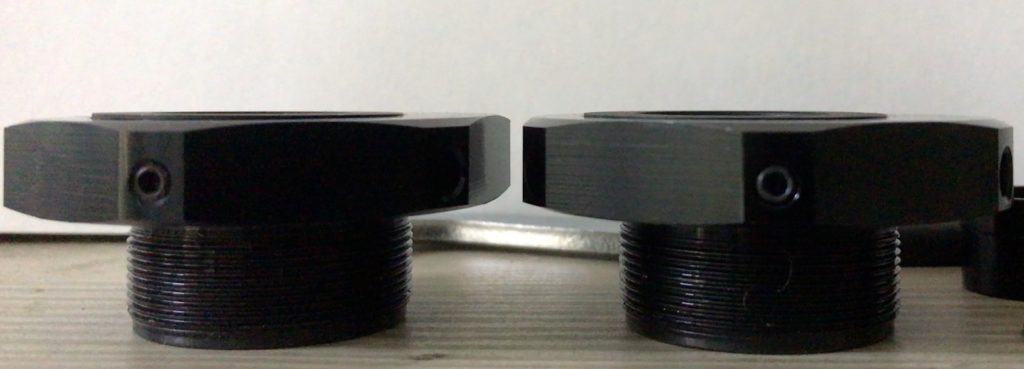
There are no bolts laterally installed across the unit.
Instead, you adjust the BB’s position by means of three short bolts, or grub screws if you like, that tighten vertically down onto the sealed bearing unit.
Three of these screws are evenly distributed around the outside casing. Each is easily accessible on the casing in between the chainring and BB shell.
Achieving very light finger-tight fit is all you need. One screw alone is quite enough hold the casing in position, although it’s easy enough to quickly access and tighten each.
EINGANGRAD
First up you need to remove the existing bottom bracket.
Our Square Taper Bottom Bracket article can help you remove that type if that is indeed what you have.
Alternatively, you’ll have an integrated crank fixed through pinch bolts (Shimano-style) or one bolt (Sram-style).
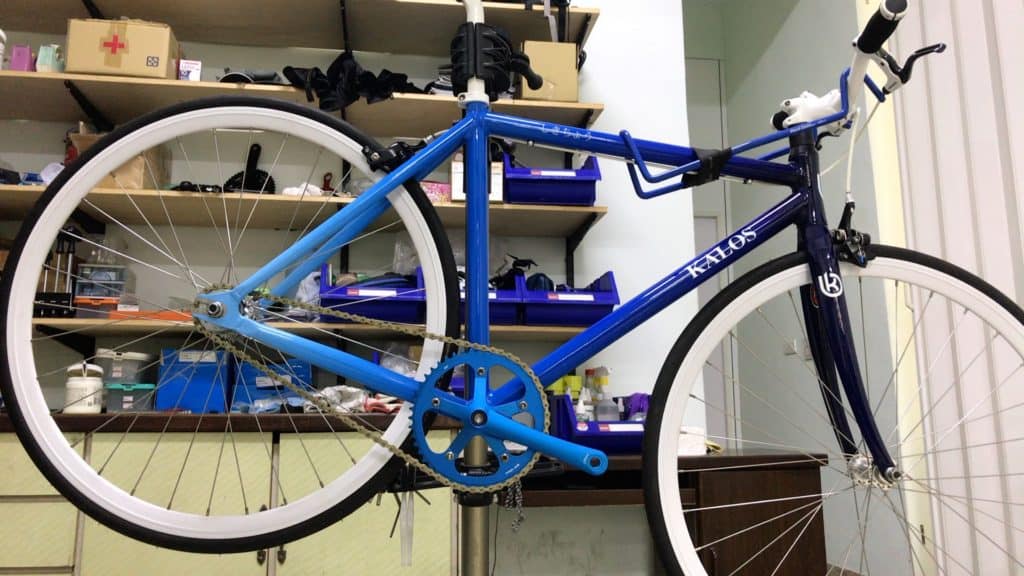
This is the fixie beauty we’ll be fussing over today.
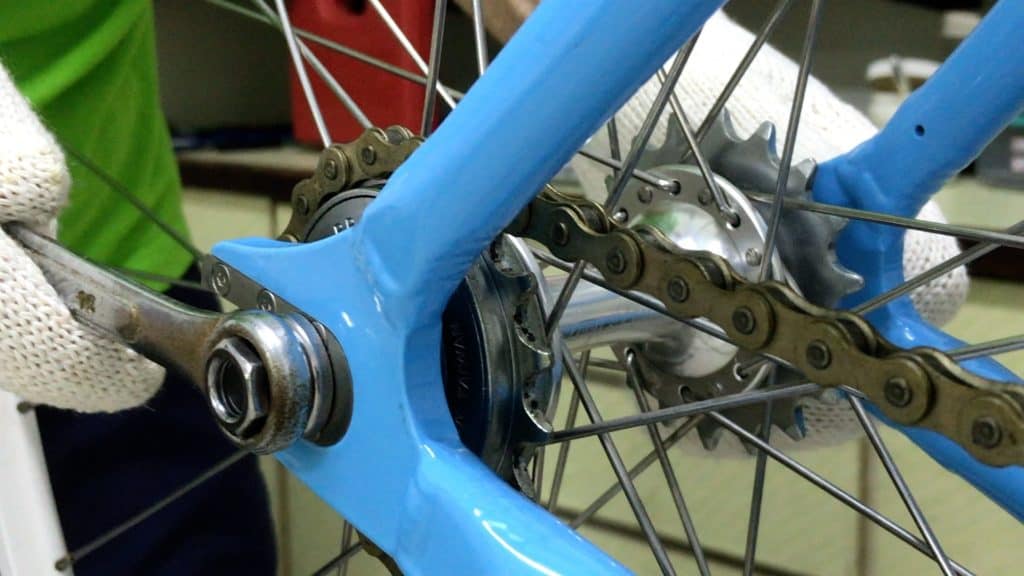
Loosening the axle nuts releases the chain tension.
I should note that this will be the last time you have to touch the wheel nuts if chain tension is the main reason you normally have to fiddle with them.
This eccentric bottom bracket makes chain tension adjustment a breeze—quick and easy, as we’ll show you soon.
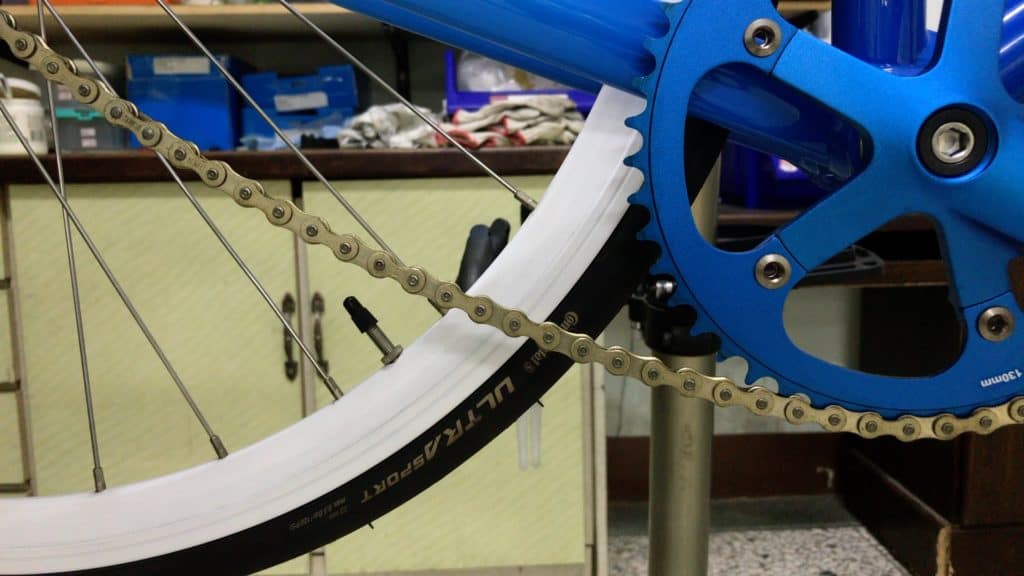
Having loosened the bolts, the chain will be slack enough to lift cleanly off and away from the crank and chainring.
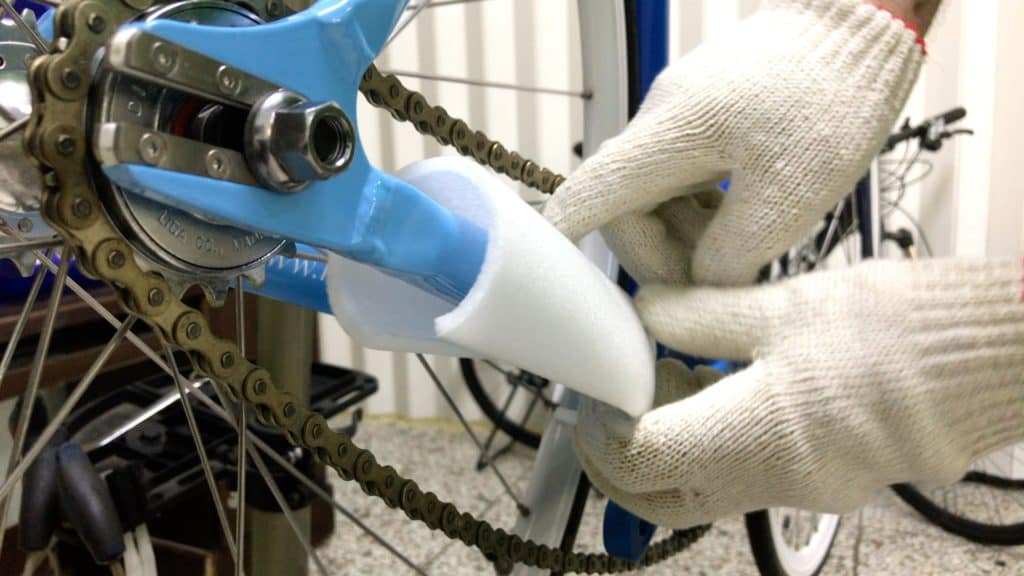
A procedural reminder: the chain will likely scratch the chainstay clear-coat and even chip the paint.
Protecting the chainstay is easy. We’re using factory shipping materials here, but newspaper and tape will do the job perfectly.
Covering up is especially important since leaving the chain intact, rather than “breaking” it, is also easier than undoing the connecting link.
Secure the chain around the chainstay whilst you install the eccentric BB.
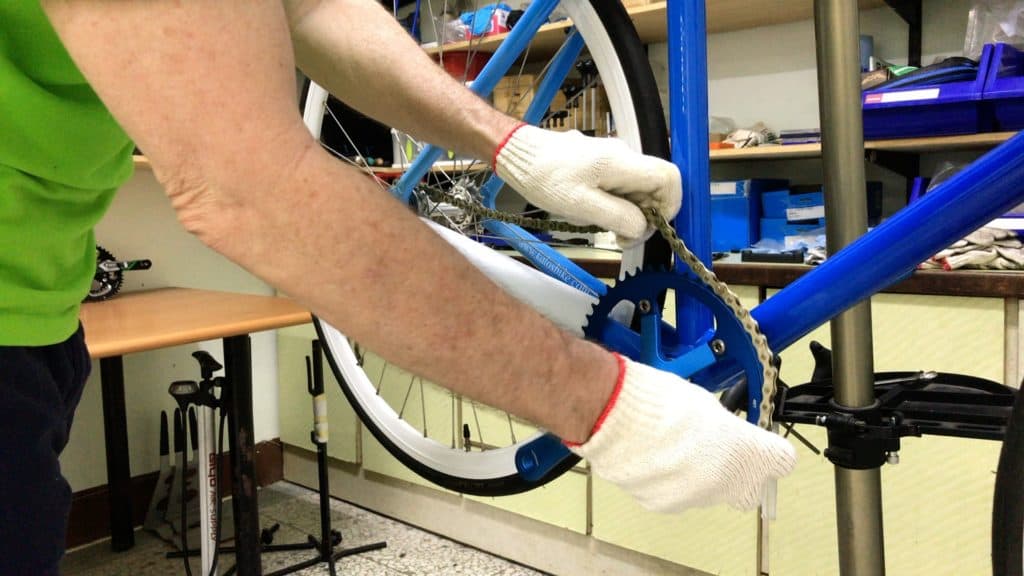
With the chainstay protected, dislodge the chain from the chainring.
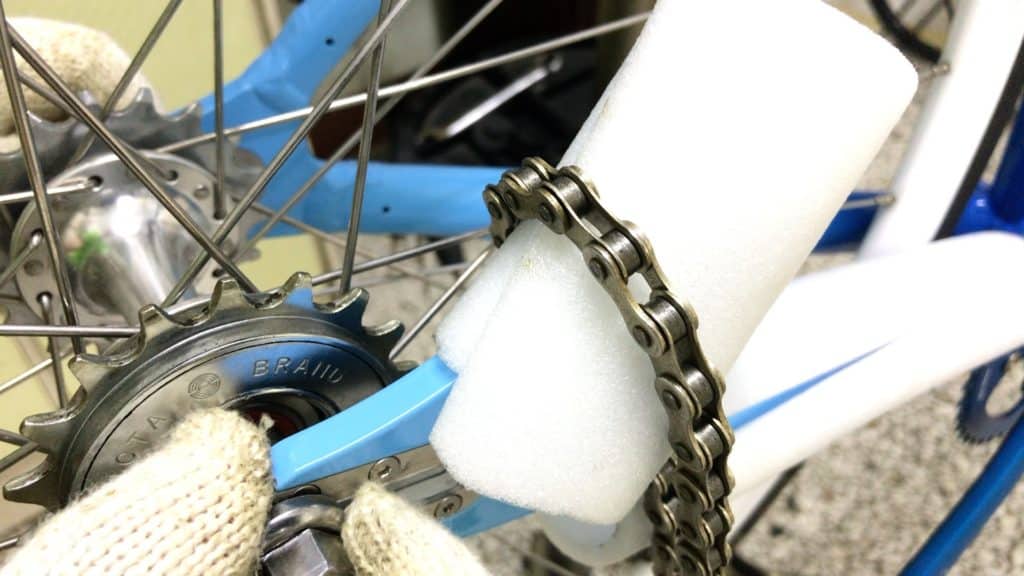
Protecting the seat stay is also important.
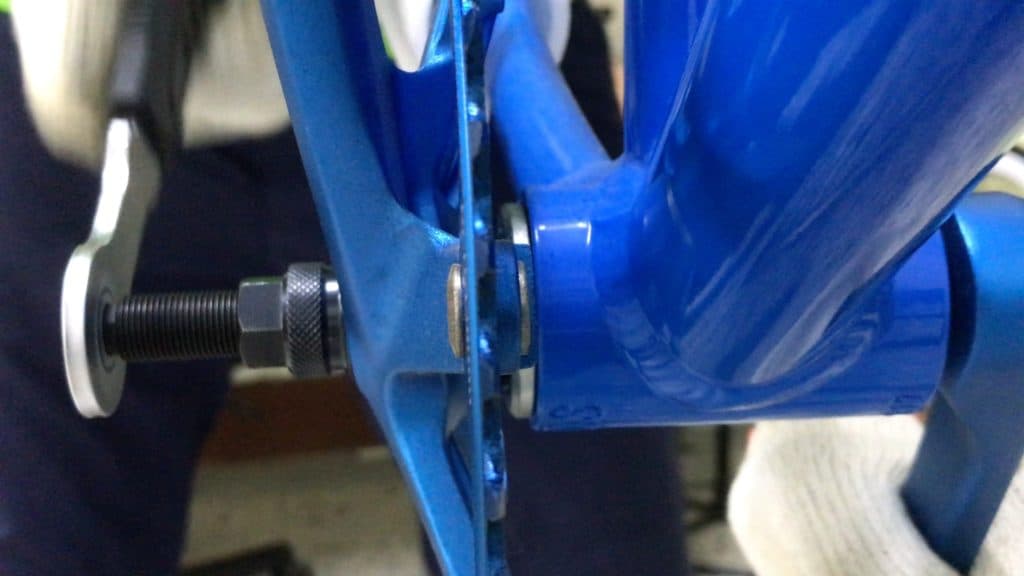
Remove the drive-side crank.
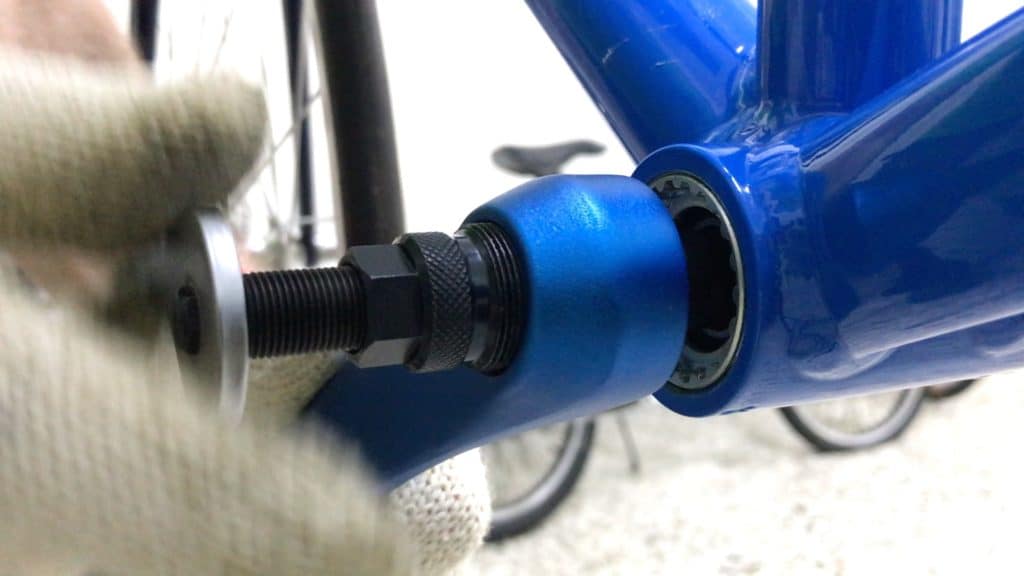
Off with the left crank.
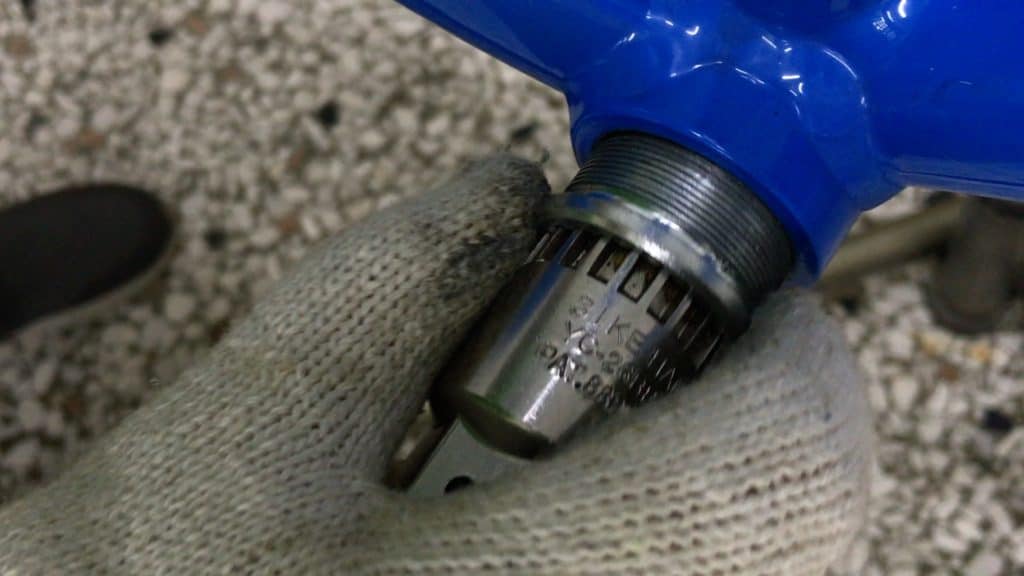
Out with the bottom bracket.
Give the BB shell a wipe—clear out the old grease.
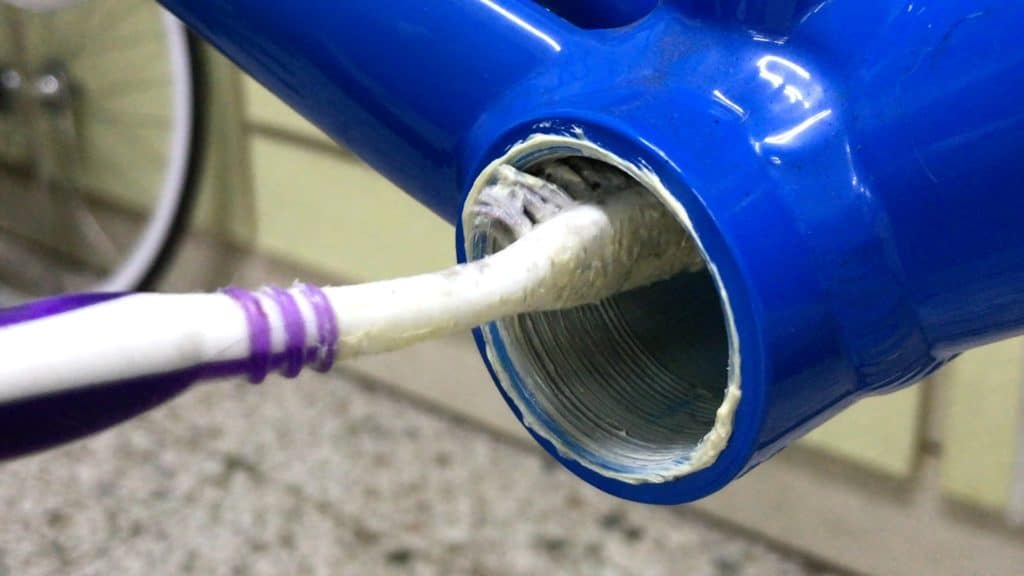
Apply a fresh coat of grease to the threads.
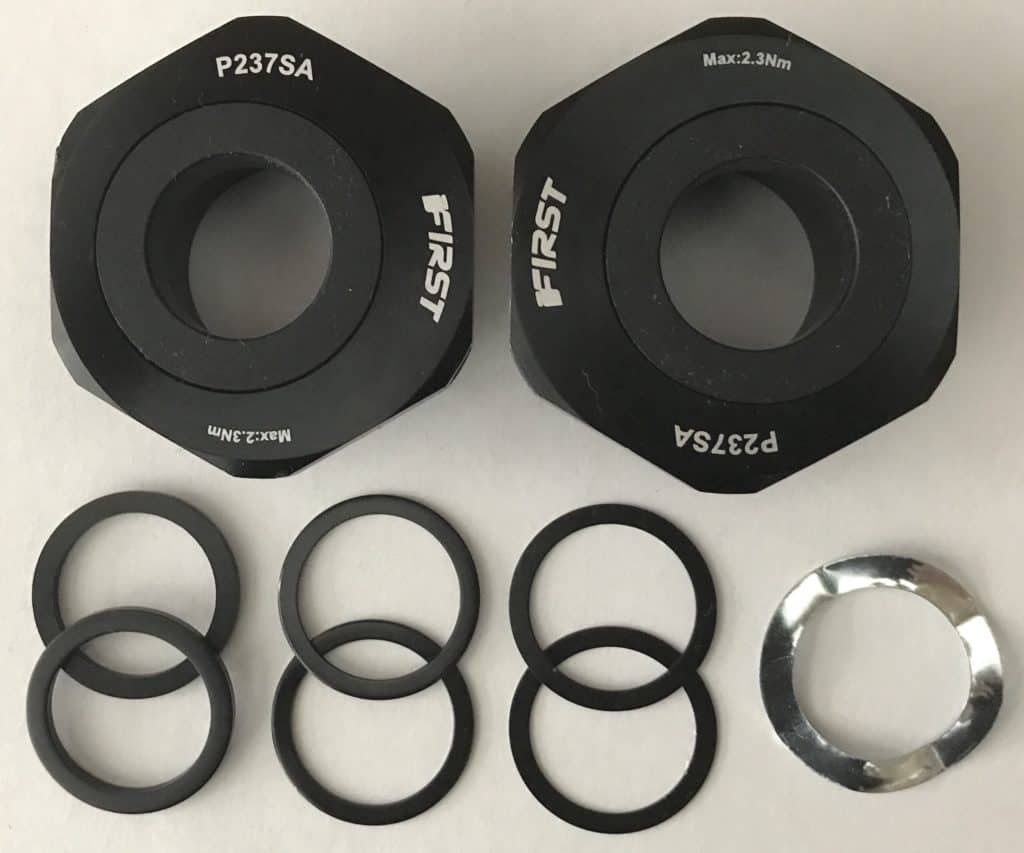
We’re now ready to fit the eccentric BB.
Note the reversed positions of the left and right side—a 180° reversal.
This is because both sides need to be aligned for accurate spindle positioning. Whatever position the bearing casing is on one side, it must be in the opposite position on the opposite side.
No need to sweat it though—we’ll make all this crystal-clear in the next section’s demo.
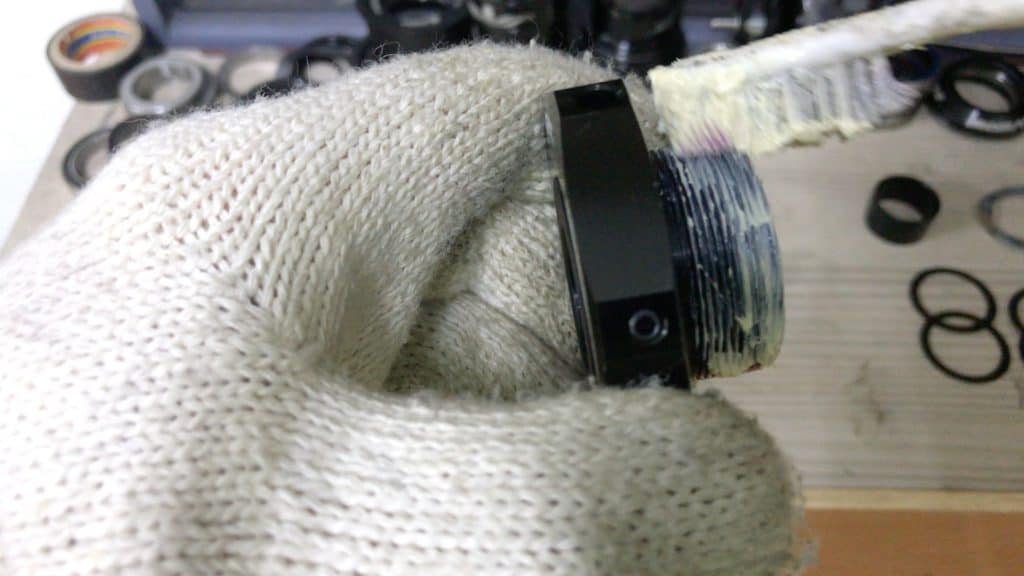
Give the threads a good coating of grease.
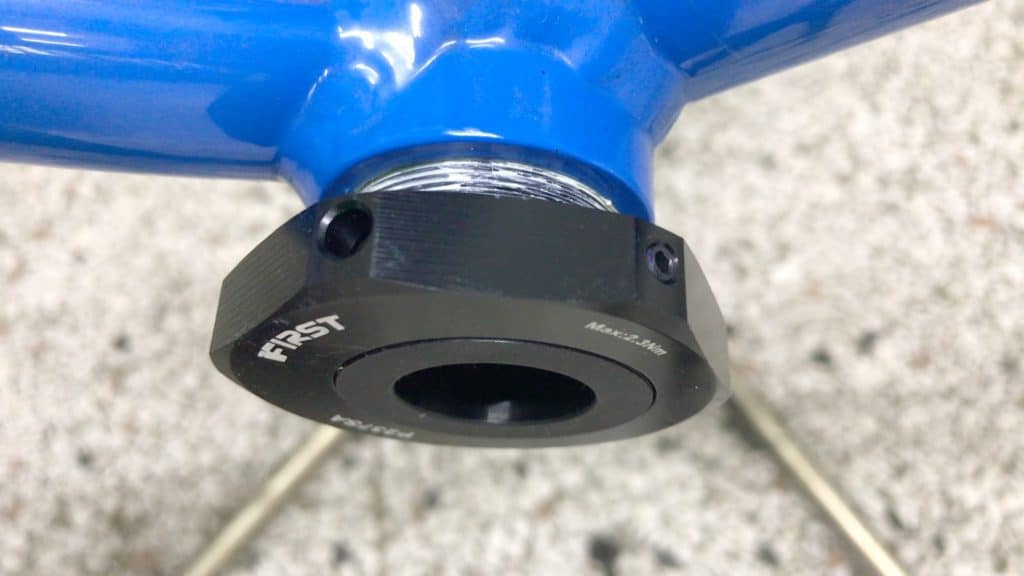
Always ensure the BB threads are seated exactly in the BB shell threads.
If not, you can often proceed to tighten the (cross-threaded) bottom bracket, thinking the increasing resistance is simply due to a snug fit.
You can repair the BB shell threads. However the bottom bracket cup will most likely be ruined.
Returning it to a usable state will require the right die set and expertise.
Turn the bottom bracket cup to the right, rather than the left (and to the left rather than the right on the non-drive side).
When the bearing cup slots into the threads, usually with an audible “click”, you’ll be clear to screw the cup all the way in.
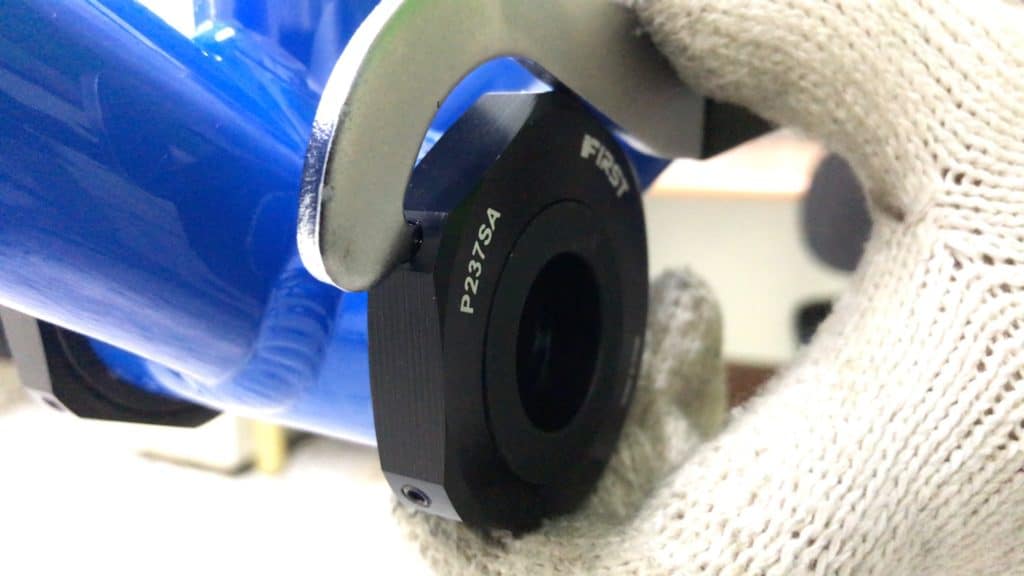
The wrench (supplied with this BB set) hooks into any one of the three notches located in alternate succession to each casing bolt.
The short handle means tightening to the limit will give you around 35 Nm of torque, which is sufficient.
In other words, you can apply maximum force and not worry that you’ll over-tighten the unit.
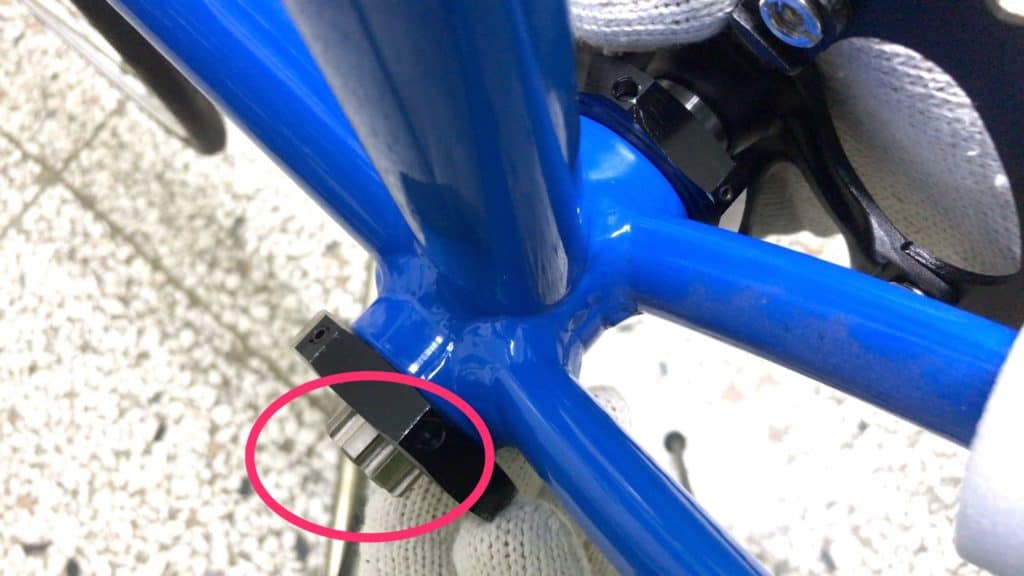
NOTE: If your freshly installed eccentric bb’s non-drive side is not lined up with the drive side, the crank will not slot into position.
The spindle in this image is about 5mm short of its final, ideal, position.
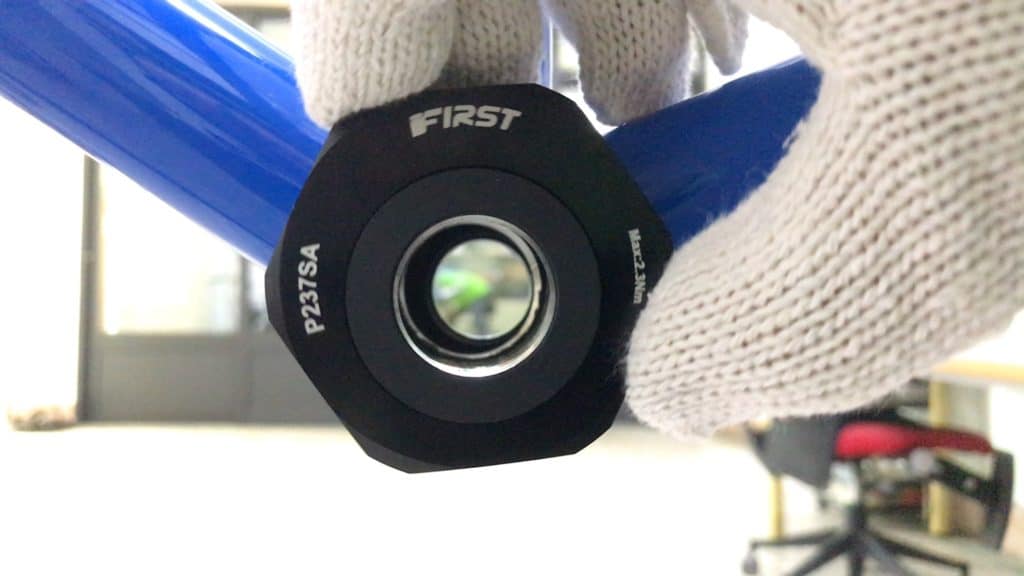
The fix is simple.
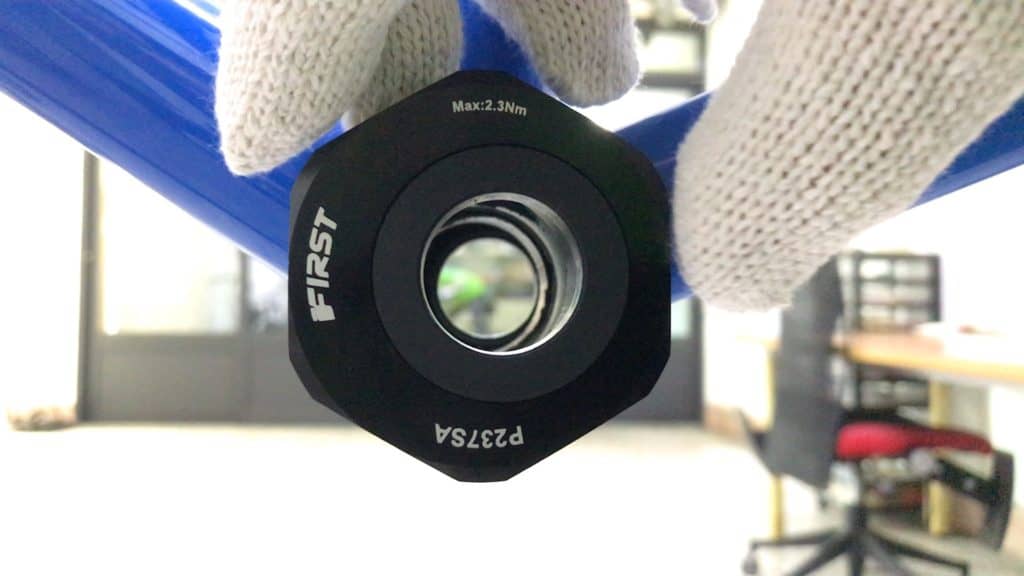
- Loosen the outer casing grub screws.
- Rotate the casing to bring the bearing into alignment with the opposite side.
- Complete sliding the crank into position.
Before tightening the casing bolts, you need to rotate the outer casing on each side to where you want it, as long as you know the exact position.
Otherwise you can adjust the position with the crank installed and the chain mounted.
We’ll cover adjustment after taking note of the points where the MTB installation differs from the single speed installation procedure.
Mountain Bike
Assuming you’ve got a BSA 24 tpi 73 mm BB shell on your MTB, the procedure is the same as described for the single speed.
This design can certainly be produced in a press-fit version. But since we’re still in the early days, the threaded version is the first iteration into the market.
The spacers that come with this unit allow you to adapt your crank to this eccentric BB.
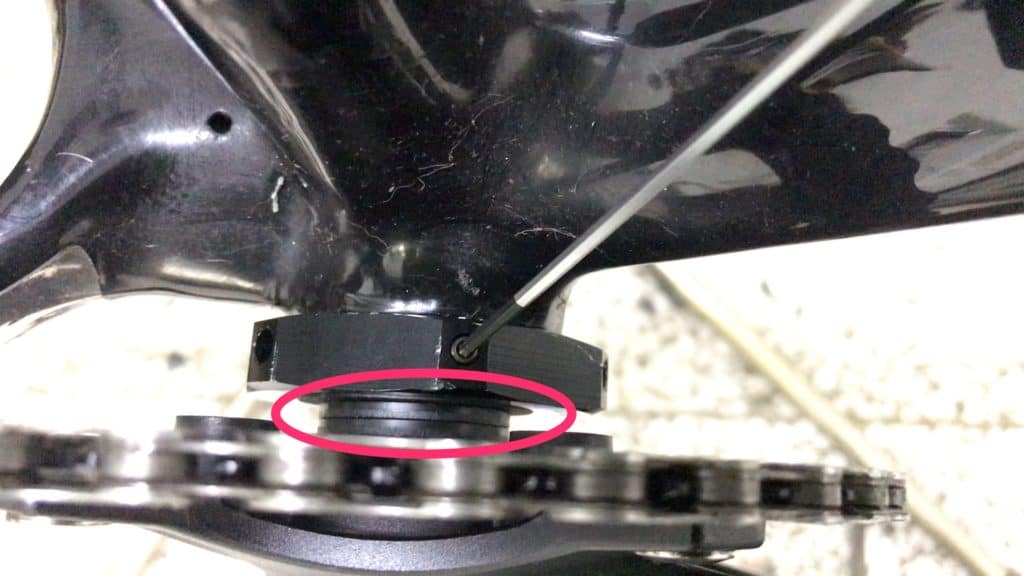
The two 2.5 mm spacers have been installed here.
A pair of 1 mm and 0.5 mm spacers are also supplied, which allows precise tuning.
This eccentric bottom bracket model allows up to 7 mm of height adjustment.
ECCENTRIC BOTTOM BRACKET ADJUSTMENT
The key principle to keep in mind when adjusting the bottom bracket for
- Tension (single speed/fixie)
- Bottom Bracket Height (mountain bike)
is to rotate both sides together at the same pace thus preventing one side from jamming.
If one side jams up, you have to reverse that side, re-align it with the other, then continue the adjustment.
There’s no big deal if that happens. Calling it a “jam” is being overly dramatic.
You’ll just get slowed up a tad is all that’ll happen.
Single Speed Bike
The purpose of an eccentric bottom bracket for a single speed is the greater convenience when increasing or decreasing chain tension.
You achieve this by loosening the outer casing screws—the casing is now free to rotate around the stem taking the sealed bearing (and thus the spindle) with it.
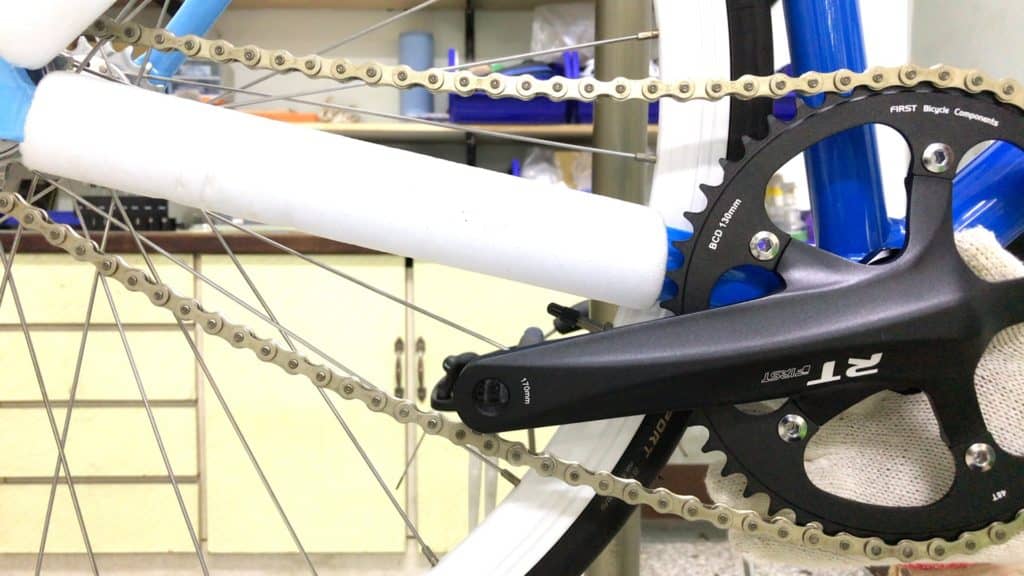
The single speed chain here has been refitted to the newly installed crank.
The job now is to get the right tension on the visibly slack chain.
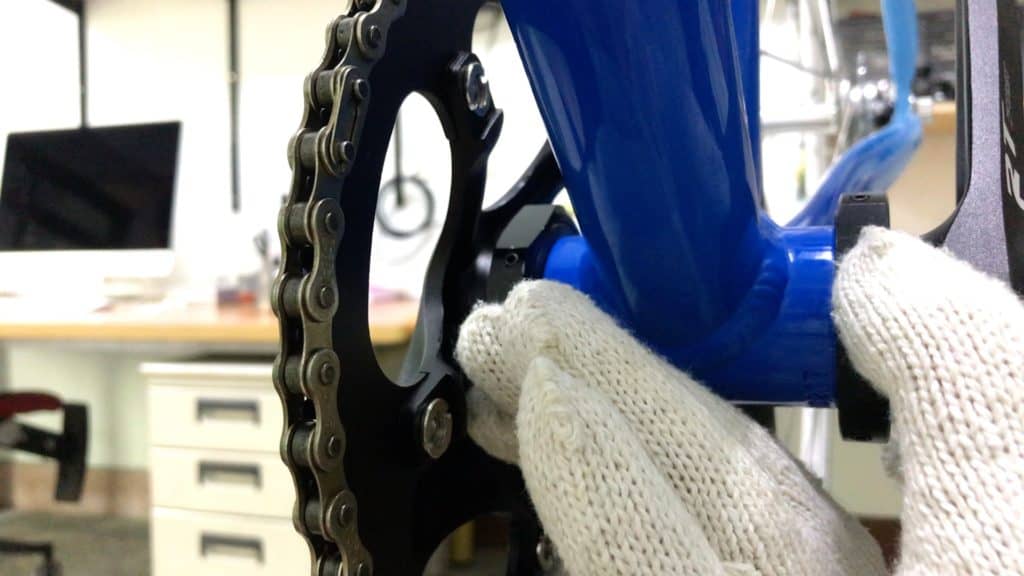
The casings can be rotated in either direction. The end result is the same.
The easiest access is from the non-drive side. Left hand on the drive side BB casing; right hand on the non-drive side casing.
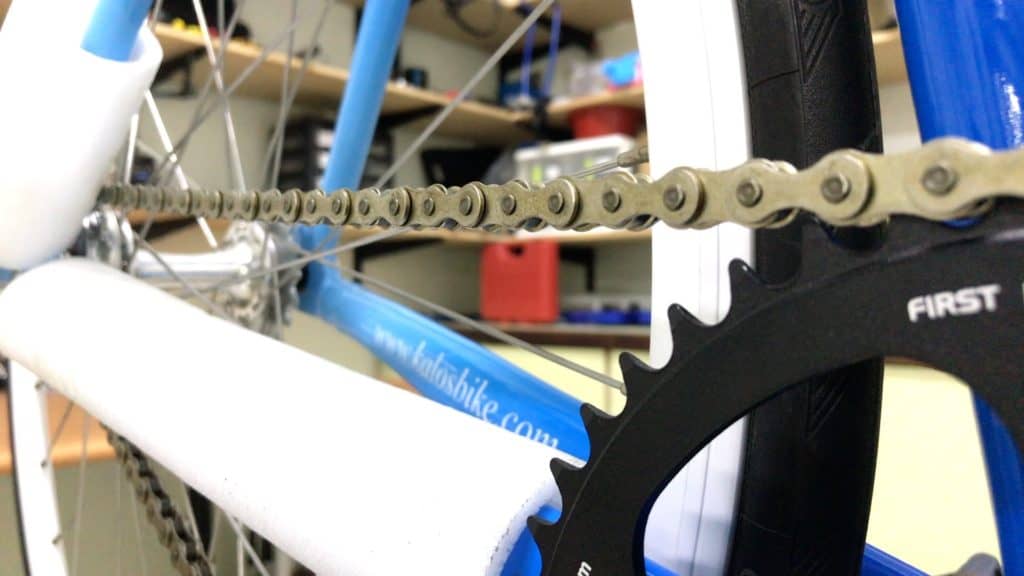
A half to three-quarters rotation is all it takes to deliver the correct tension.
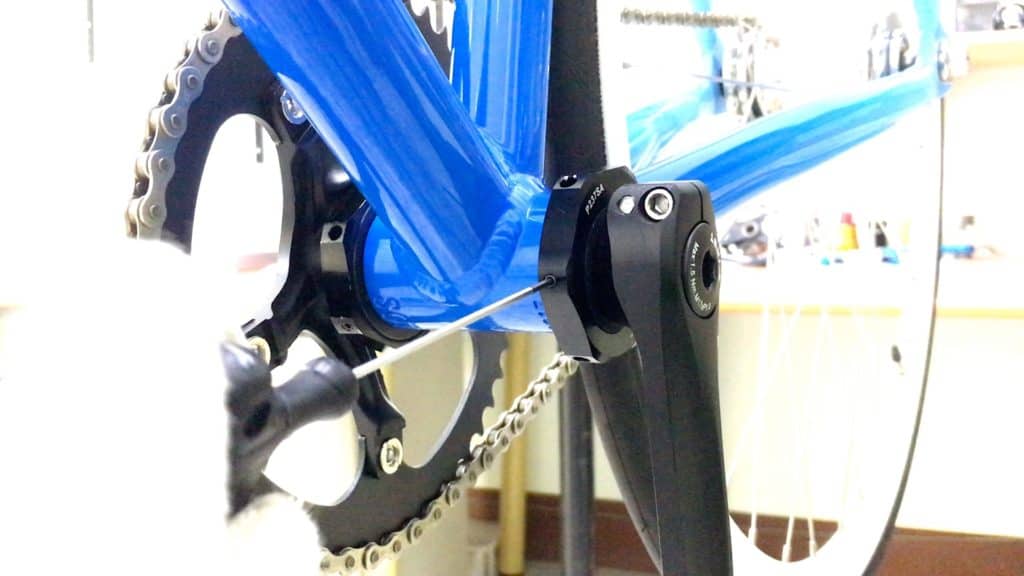
The final step is to tighten each of the 3 casing bolts on each BB. Note that the maximum torque is 2.5 Nm, very slight indeed.
One bolt can hold the casing in position by itself.
But with 1-2 Nm on each bolt, you’ll hold the casing firmly in place without indenting the bearing cup beneath.
You’ll also find adjusting chain tension out on the road is a cinch.
Mountain Bike
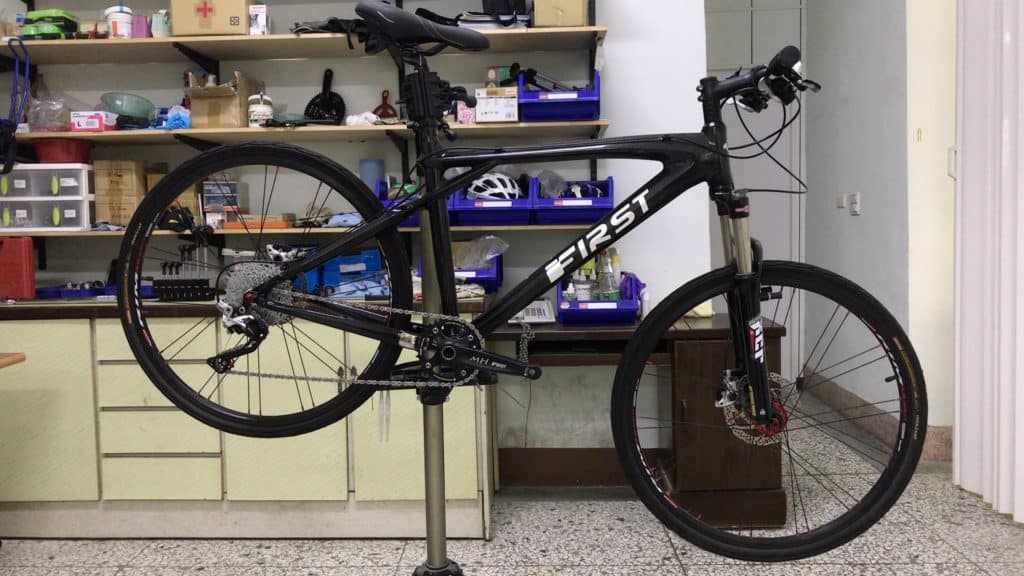
An MTB eccentric bottom bracket is for bottom bracket height adjustment.
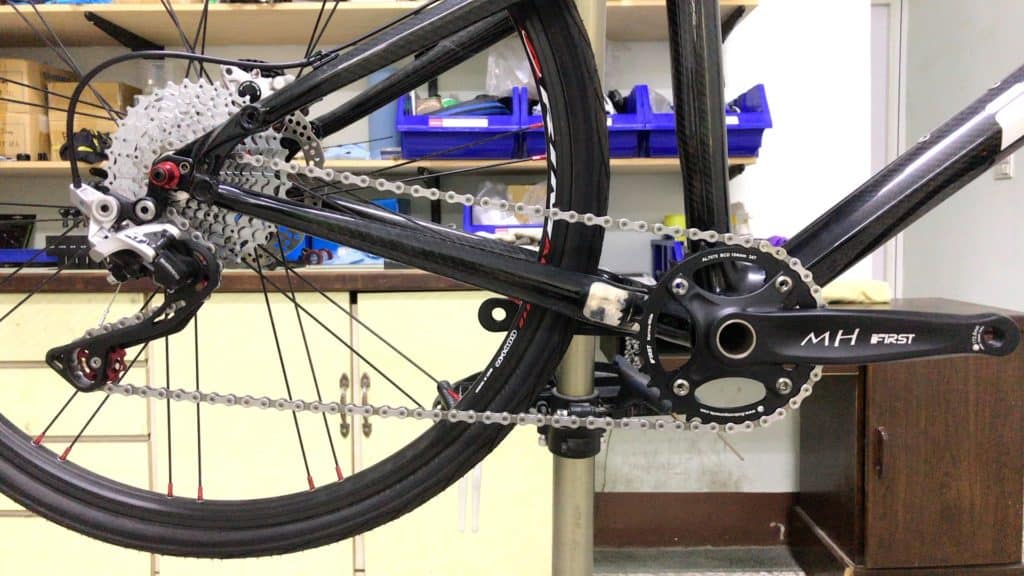
The rig here is a 34T narrow-wide crank fitted with the new eccentric bottom bracket.
If you were out on the trail, one without too many rocks or boulders, you could quickly lower your bottom bracket.
Or with the BB already lowered, you hit a rough patch raising the risk of a pedal strike. You stop for a few minutes, raise the BB to maximum height, then power off down the trail.
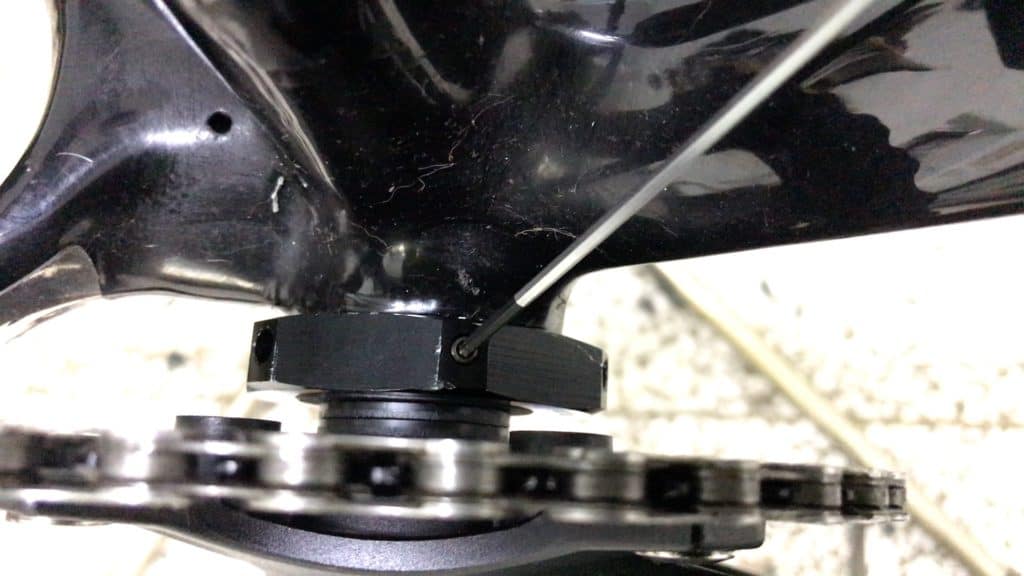
This unique, bestselling EBB is available for purchase directly from FIRST Components.
All you need to do is have that 2mm allen wrench handy.
Note that a multi-tool won’t do the job here. Even if you have a 2mm key included amongst the allen keys on your particular unit, it probably won’t be long enough.
I’d suggest you get a separate 2mm key, that you might include in your home toolset, take it with you for exclusive trail usage.
Loosen the casing bolts on both sides. Rotate the casings, altering the crank height to the correct level.
Re-tighten each bolt just a bit . . . you’ll feel it, just snug it tight, and you’re good to go.
Final Thoughts
What place might an eccentric bottom bracket have in your cycling life?
We’d be most interested in your thoughts on the subject.
Plus if you’ve got any questions, fire away …

30 Kommentare zu „Eccentric Bottom Brackets (All You Need to Know)“
I have a cannondale tandem with an eccentric BB. I am replacing the cranks. Do I need to replace then eccentric BB or can I use the existing one?
Depends on the specifications of the EBB and the new crank. If you’re replacing like for like, then there should be no problem: the crank spindle diameter and width are the key.
Hello and thanks for the very detailed summary of this topic.
I have a question. Why do some BB bearings use plastic/nylon top hat bushes rather than choosing a bearing with an ID that is a good fit to the OD of the crank spindle? Seems odd that we are expecting a piece of plastic to support a rider’s leg effort instead of having a steel/steel interface.
Nylon is cheaper and there are brands and cyclists for whom that works. It is not as durable as alloy, for sure. But it’s an option for a segment of the market.
Hi,
I looking into converting my 29er MTB into a “Mullet” and would like to raise my bottom bracket closer to where it is now with both wheels being 29 inches. My current BB is a Sram DUB. What product of yours woul you recommend?
The P237SA will get you 7mm higher (we’re short of components for that, though, and it’s not clear when they’ll be back in stock). And you’ll need an adapter if you’ve got a press fit BB. The C247D is for SRAM DUB cranks.
Hi,
My bike’s BB is SRAM DUB 73mm BSA “threaded”. From your answer to Todo Easterbrook’s question,… is the C247D “threaded”? Do you have this eccentric BB on stock and ready for dispatch?
Thank you.
Yes, it’s threaded, and in stock.
Hello,
I’ve purchased a P237SA bottom bracket, but am not sure about what cranks will fit. In particular
– do Shimano Hollowtech II cranks fit?
– do the SRAM and Travativ cranks that use the GXP bottom bracket fit?
Thanks much!
Hollowtech 24mm cranks…yes indeed. I’m not familiar with GXP but I imagine you’d need an adapter.
I am thinking of buying a used bike and would like to increase the chainring on the crank from 34t to 36t or 38t but the frame will only take 34t, if I rotated the ebb to a 3 o’clock position would this gain a bit more room for more teeth?
I’d have to see the rig to have a better idea of what the problem is exactly, but offhand I’d say the EBB would not help. If you can’t fit a larger a chainring, you can’t fit it —— using the EBB to offset it won’t help.
I have a Fondriest X Status that runs an italian BBR60 BB.
are there any formats compatible to install one of your eccentric bottom brackets on her? cheers
No, sorry to say Kyle. They’re all BSA.
I see compatibility with 73 BSA, but will this work with 68 BSA?
Yes. As standard BSA it covers MTB 73 and Road (Fixie) 68mm
All the mountain bikes I’m working with are BSA 68mm, not 73, not Fixie, nor road bikes. No difference between what style of bike this works on as long as it’s it’s a BSA 68-73mm I take it?
Hi I have an old Vitus 7987 road frame with vertical drops. It takes a BSA 1.370 x 24 tpi BB. I also have a campy crankset that I want to use. Would your product work with this crankset?
If you’re talking about the P237SA as long as your crank spindle is 24mm it should fit.
How much does the P237SA weigh?
212g excluding the wrench.
Thank you!!
Hi. I have an old Fuji S-12-S (early ‘80s). I’d like to turn it into a fixie. Will your eccentric BB fit that old style BB shell?
Thanks
If the bb shell is the standard threaded 1.34″ (38.4mm) diameter, it will fit
Hi, I see above the suggested 7mm range of adjustment for the P237SA.
Is this a total of 7mm adjustment I.E 3.5mm up and 3.5mm down compared to the standard location? Or 7mm up and 7mm down for a total of 14mm range of adjustment?
Also, could this be installed in a front to back configuration to adjust chainstay length or reach?
Thanks!!
A maximum of 7mm in either direction. So yes, a total range of 14mm 🙂
Yes – can the EBB be used in a back to forth movement to adjust an MTB’s reach and chainstay, instead of just BB height? Many thanks
Hi,
I have a G32 eccentric bottom bracket and have two questions, what torque should the bolts be tightened to?
Can grease or a retaining compound like loctite 638 be used in installation to prevent creaking?
Thanks.
8-10 Nm on the bolts. Just use a light smear of grease on both the bottom-bracket/BB shell connection and the inner threads where you’ll install the main BB.
What are the benefits of H32-3 over H32?
Which one is the preferred performance vise?