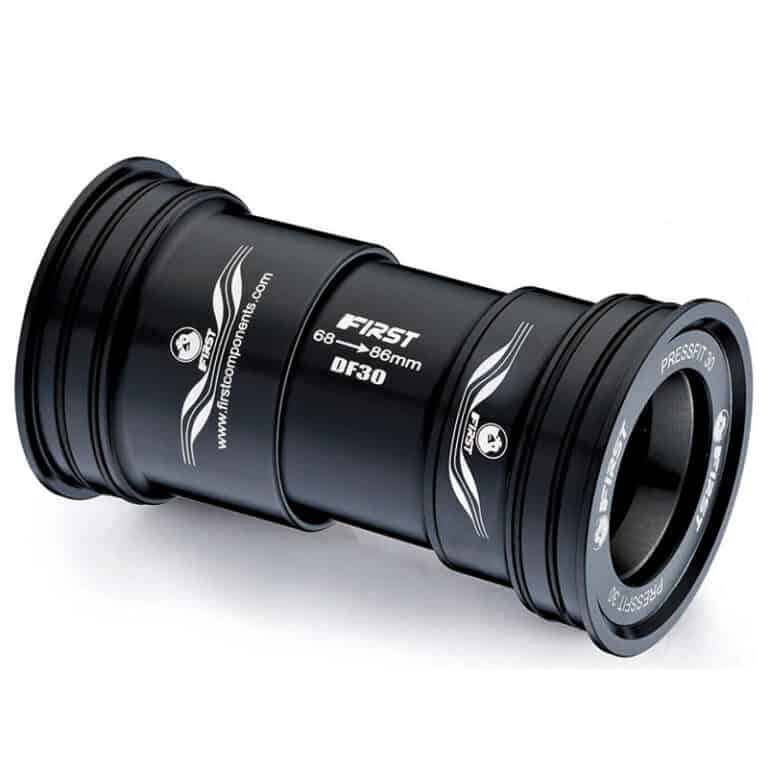
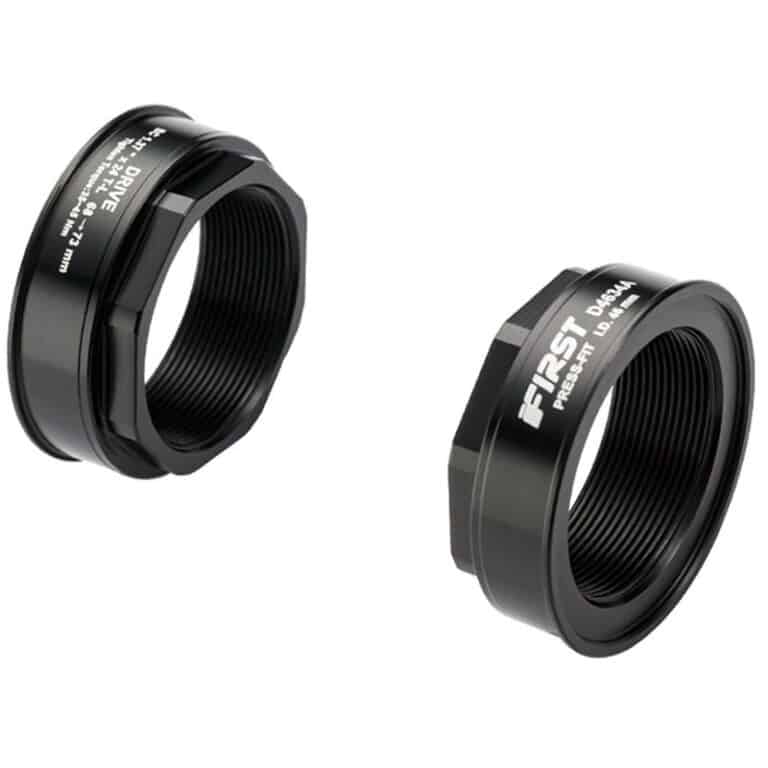
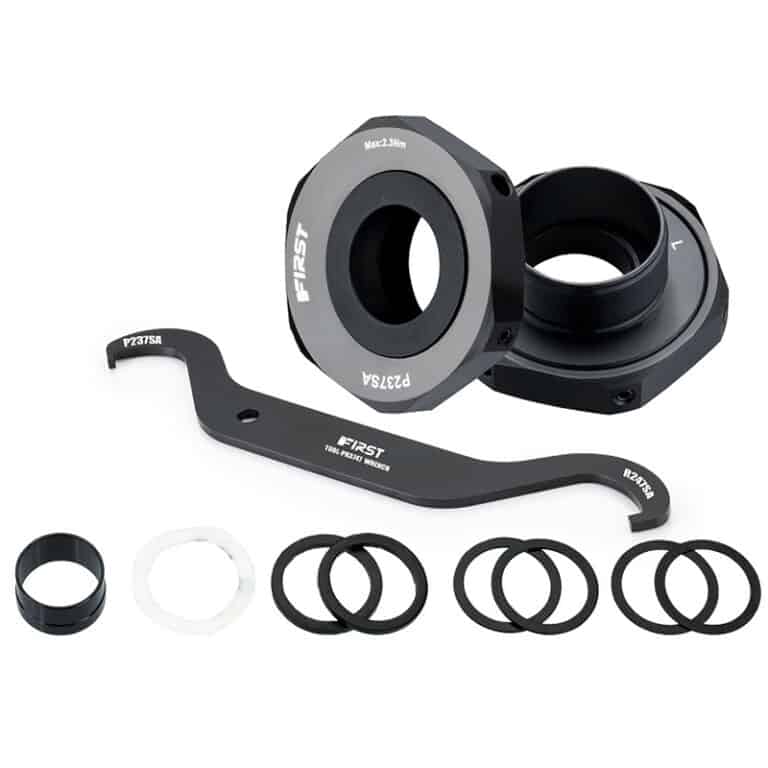
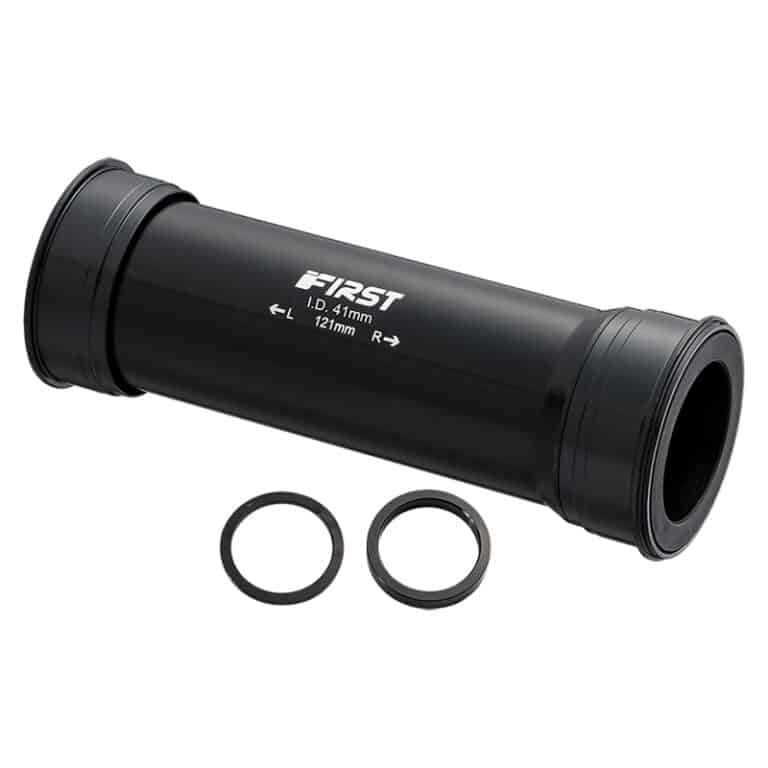
Here is an overview of the bicycle’s bottom bracket, an essential component of every bicycle. We go into detail about each of the categories listed above to
T47 Standard
Oversized press fit bottom brackets have their advantages. But a significant downside is that they can creak or squeak. And if there is one thing that can drive the average cyclist mad it’s a squeaky bottom bracket. The T47 BB was designed to overcome the problem of creaking bottom brackets. Press fit bottom brackets make a lot of sense but they are more likely to move and therefore creak compared to a threaded BB that fits into a threaded BB shell.
We should point out, though, that if you do have a creaking sound coming from the general direction of the bottom bracket, then you may well simply have a pedal issue. The creaking is often a result of not using a washer when fitting the pedal to the crank.
If you do experience this noise, we would advise that you firstly remove the pedals, check that there actually is a washer installed, clean the threads on both pedal spindle and crank, sparingly apply a light oil (sewing machine oil is perfect for this), then re-install the pedals with the correct torque—35 Nm is the setting to aim for. If you haven’t eliminated the squeaking sound after this, then you may have a bottom bracket problem.
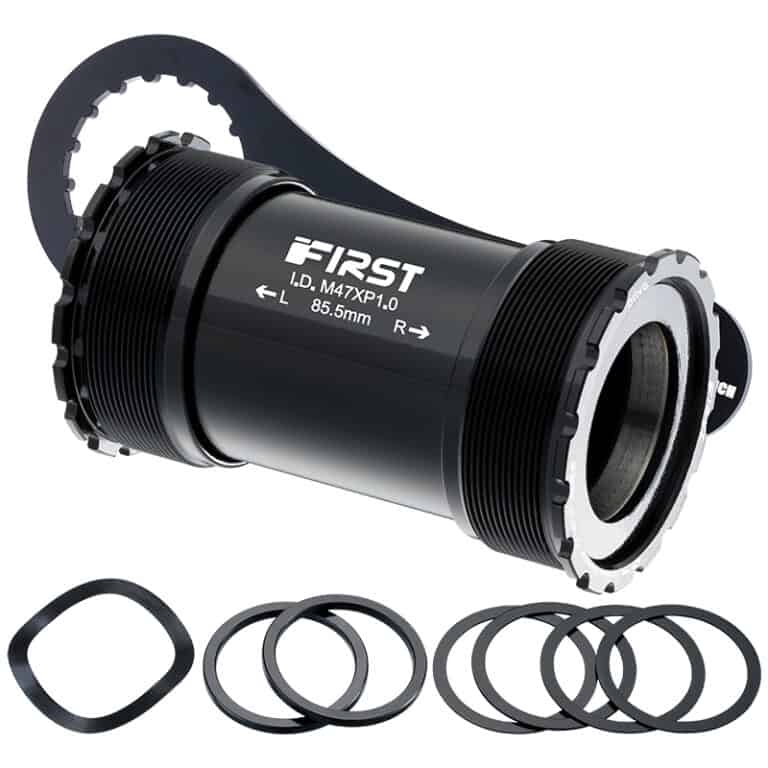
Anyway, a t47 bottom bracket can be thought of as a threaded 46mm shell. Most metal frames that have PF30 shells can be converted into T47 by cutting threads into the BB currently being used, although that is quite a tricky operation. Not easy. Basically what you get is an oversized BB shell that makes it compatible with a very wide variety of crank axle types, and a much greater area for oversized frame tubes, be they light, or stiff etc. is made available, but by means of much more ease-of-use threaded cups.
An important point to realize about T47 is that it’s just not “another standard”, but potentially the one standard for use across the entire system. Well, this was the potential outcome when the standard first appeared in 2015. Clearly it still has some way to go towards achieving that universal penetration. The e-bike revolution also potentially casts a cloud over it since this revolution is largely based on mid-drive systems which simply require a bracket to accommodate whichever motor manufacturer’s motor it has been designed for—bottom brackets generally have no place in that ecosystem is the larger issue here of course.
Delving a little deeper into the advantages of the T47 design, we find several elements that make it particularly attractive.
Firstly, threaded BBs have been around since the beginning because they work so well. It’s just like the ‘twin-diamond’ (for want of a better way to describe it) frame design that has not changed in over a century—this geometry is still the basis for 95% (99%) of bikes today, because we have been unable to come up with anything better.
Aligning a bottom bracket with the threads in the shell then turning it into the frame results in an efficient and creak-proof fit (make sure you generously grease both the BB shell threads and the threads on the BB cups themselves though). This system also makes possible the easy removal of a BB for maintenance,
Press Fit Bottom Brackets
The press fit bottom bracket was always going to happen, sooner or later. Press fit bearing systems, or headsets, have been installed in head tubes for quite some time now. It was only a matter of time before the ubiquitous bottom bracket shell came to be modified so that a bearing cup or system could be fitted to it.
Besides, Campagnolo were half way there with their press-in bearing designed bottom brackets. Sure, the bearing cup threaded into the BB shell in the standard fashion. But pressing the bearings into the cups was ahead of its time.
Cannondale’s 2006 commercial introduction of the BB30 design (they initially unveiled it at the 2000 Tour de France) heralded the dawn in a new era of bottom bracket design, although it was a few years until it gained broader market acceptance.
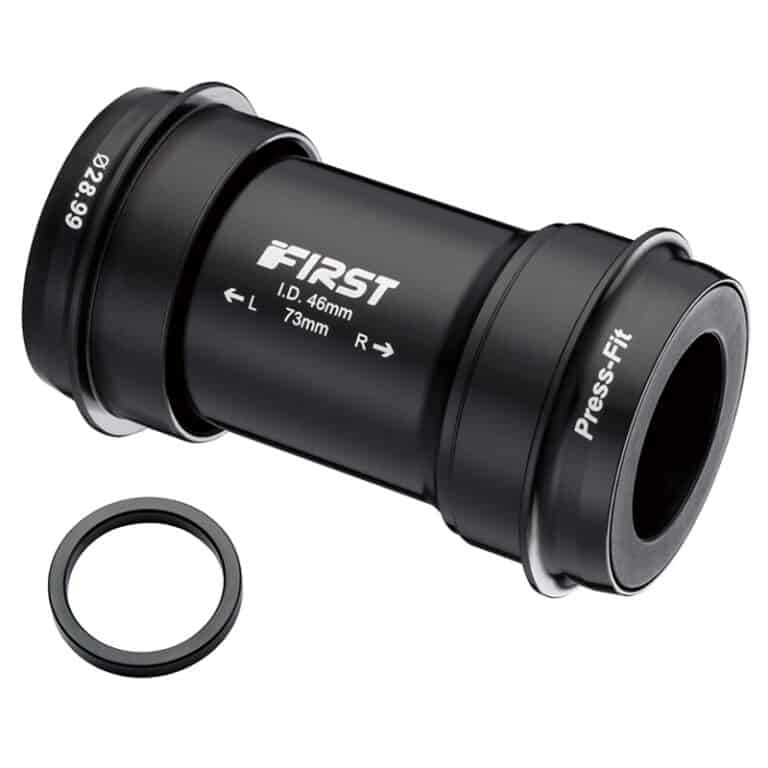
BB30 bearing cartridges press directly into a precision-fit shell. The advantage of this is the weight saving stemming from not requiring a separate bearing. It is more robust, stiffer due to the 30mm diameter. Further advantages are that there is more room in the bottom bracket area to attach larger down tubes, larger seat tubes, and larger chain stays. Additionally, the the shell and spindle increase not in width, but in diameter allowing the design of cranks that give more heel clearance.
The mid 2000s also saw the rapid adoption of carbon composite frames which encouraged the expansion of press fit designs—PF30, BB86, BB90, OSBB, BBright, BB386EVO.
BB30 initially evolved into PF30. PressFit 30 gives all the most important advantages of BB30. It improves on BB30, though, due to requiring much less precise machining of the bottom bracket shell area—the bearings come inserted into plastic cups that are easier to fit into the frame which are more robust than a stand-alone bearing. PF30 bottom brackets also have an integrated sealing system; this extends bearing life.
If there is one aspect of manufacturing press fit bearings that requires careful attention, it is in the machining to extremely fine tolerances. The fit into the frame must be exact in order to limit the inevitable movement that will occur. Above a certain threshold that movement converts into sound, hence the creaking problem that is a common complaint of the standard amongst cyclists.
External Bottom Brackets
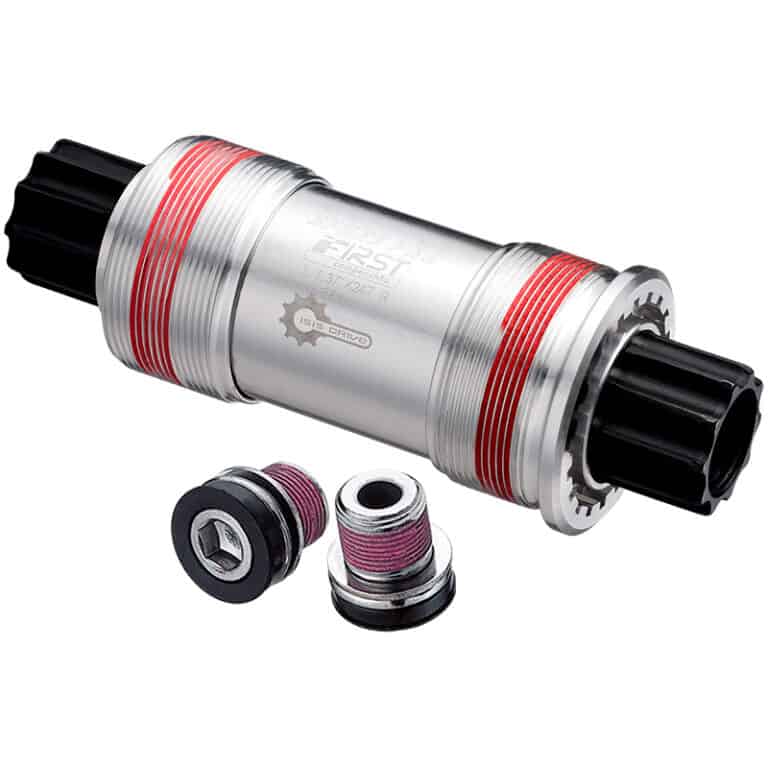
The external bottom bracket is otherwise known as ‘conventional threaded’. You’ll also see them referred to as ‘outboard bearings’ for the obvious reason that the bearings are located outside the BB shell.
Moving outside of the shell means bearings can be larger; larger bearings last longer. Larger diameter bearings tolerate much greater wear and tear. Moving outside the BB shell also means larger diameter spindles, 24mm rather than the 17mm used in cartridge BB axles. You also achieve greater stiffness for a reduction in weight.
Greater care must be taken, however, since bearing wear is signifcantly increased—which means you’ll wear out your bearings very quickly if they are not aligned correctly. This means careful attention to ‘dressing’ the frame through the process of tapping and facing, the latter process being the crucial one here.
A quick method to achieve this is to use an integrated tapping and facing tool. The die is turned into the BB shell on both sides which will correct any imperfections in the bottom bracket shell threads. Frame makers outsource the BB shell thread cutting to specialist service providers who do 999 frames out of 1000 perfectly. Only occasionally do you find threads not cut within tolerance. A bicycle assembly technician will only discover this when he is attempts to thread the bearing into the shell. So it’s best to run the die through the shell on both sides to make sure they are spot on.
Once the die is fully inserted into the BB shell then the cutting is placed under slight pressure against the painted edge—“face”—of the BB shell. It is turned by means of handles against the face which shaves away the paint in fractions of millimeters at each stroke until the clean metal is revealed. This ensures a perfect fit between the BB cups and the BB shell face which is also rendered perfectly square to the chain line. By dressing the frame in this way, a cyclist will enjoy the particular benefits of external bearings for a good deal longer than cup-and-cone assembly or cartridge bottom bracket.
Fat Bike Bottom Brackets
These are much wider than standard due to a fatbike’s larger frame size.
A common configuration is one utilizing a PF30 bottom bracket that resides in a 100mm shell. In this case you’d go for a 170mm spindle. In case you have wider chainstays or bottom bracket housing, you might opt for the 190mm spindle.
So do you go for 100mm or 120mm?
120mm is probably only necessary if you are running 190 hubs and wider tires. Many riders report inconvenience and knee problems with the 120mm size. A 120mm shell with a 190 spaced crankset will be stronger and a tad stiffer than a 100mm shell with the same crankset. Because you have extra spindle length outside of the bb shell, the leverage and force applied to that spot is increased. But you must really ask yourself ‘Do I really need this?’. If the answer is positively ‘yes’, then go for the 120mm.
Eccentric Bottom Brackets
This type of BB adds tension to a bike chain or belt. You have a traditional bottom threading into an EBB in an off-center position. By rotating the EBB clockwise or counterclockwise you can increase or decrease the tension, since you are actually moving the whole crankset forward or aft depending on the degree of rotation. When the right tension is reached, the EBB is held in place by expander bolts inside the unit. Loosening off small bolts allows the BB to rotate. When the desired position is reached, just tension the bolts again.
The thing to note about this function is you are effectively altering your bike frame’s geometry—reducing a bottom bracket’s height by even a few millimeters and/or the chain stay length has an impact on your bike’s performance. Not a major impact, but an impact nonetheless.
Because this type of BB is designed to be adjusted, you need to achieve the right torque setting for the bolts. Too loose and you are going have slipping. Too tight and may strip the thread. Worst of all you won’t be able to make adjustments on the fly which is a convenience using this BB type affords.
In relation to tightening them and in conjunction with using a bit of loctite, you can tighten them to the point that you have to strain to apply any significant force. If you do over tighten, it is possible that you may pierce the EBB shell.
You may notice if one of the bolts begins to become loose. There’ll be a slight clicking in the bottom bracket if pedalling hard. It’s worthwhile to get into the habit of checking them every 1000 km or so, to avoid inconveniences in the midst of activity.
Cartridge Bottom Brackets
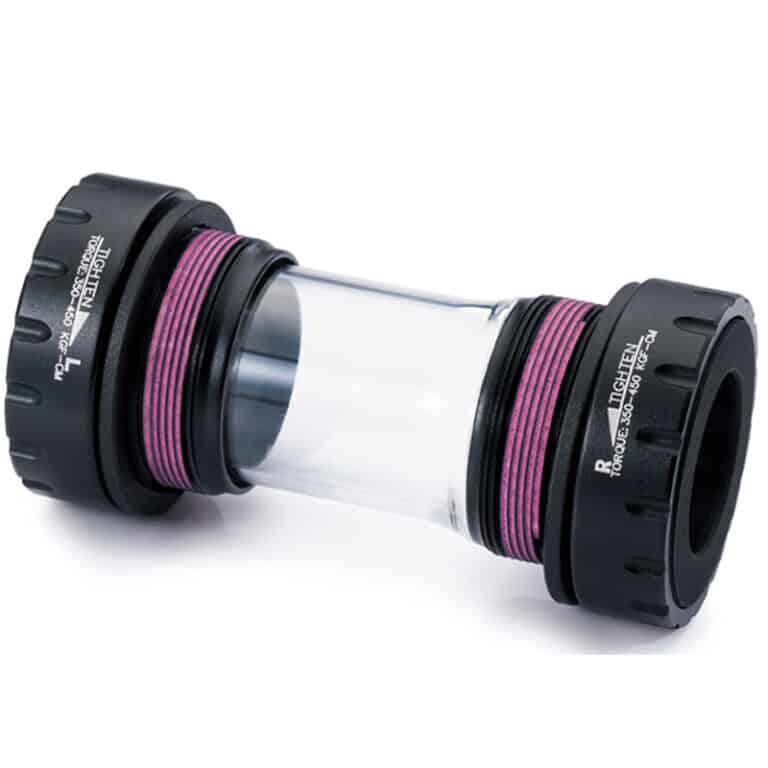
Sealed cartridge Bottom Brackets are one of the most utilized bottom bracket type. They are usually found in two pieces—one unit holding the spindle and bearings that screws into the bottom bracket shell from the drive side. On the other side there’s a support cup, made of light alloy or plastic. This support cup supports the spindle/bearing assembly on the non-drive side. It’s best to install both, turning them both into the frame, but allowing the drive-side unit to make firm contact with the BB shell. Then the non-drive side support cup can be tightened. If the support cup is tightened first, the drive side unit will likely not meet flush with the BB face.
You will also find three piece designs in the market. In these the spindle is separate. The bearing cups, however, make use of cheap-to-replace standard cartridge bearing units. Either way servicing or replacing the bottom bracket means simply removing the old cartridge from the bottom bracket shell, and installing a new one. Cartridge bottom brackets are generally sealed to ensure water and dirt does not contaminate the bearings.
Regular Bottom Brackets
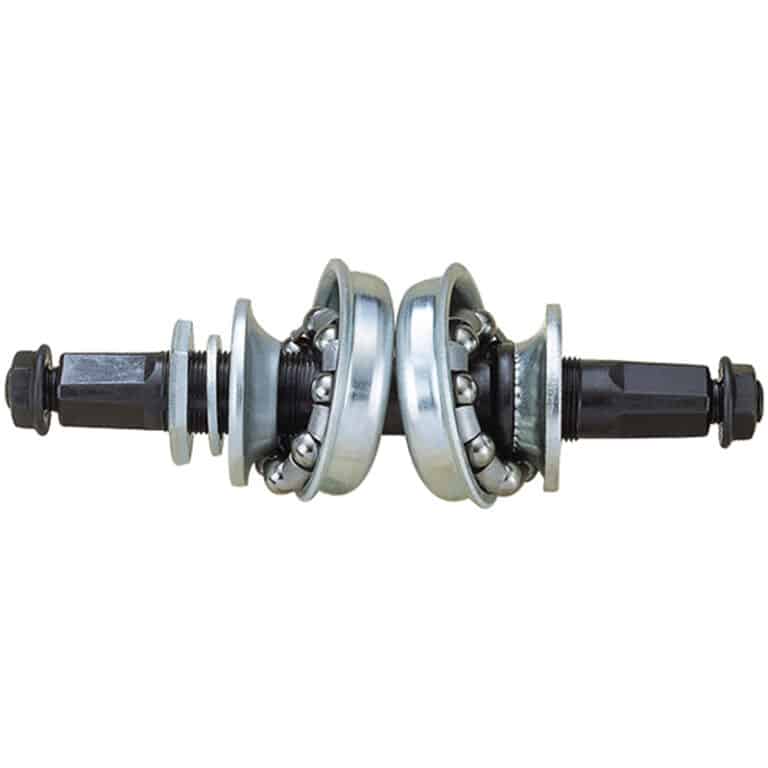
As the name suggests these are your regular, ordinary, every-day spindle with cup and cone bearings. This is about as simple as it gets. Cartridge bottom brackets are arguable simpler since they are more easily installed and when worn out you just replace them. Regular servicing and re-greasing is the whole point of this most traditional of bottom bracket designs. If you need to replace the bearings, then this is relatively straight forward.
The cups are secured into the BB shell by means of a lock-ring which is in turn secured by the use of special tools. Unlock the lock ring, remove the bearings if they are loose or in a clip. Clean everything in kerosene (the original dry cleaning solvent). A quick inspection of the cleaned cup and ball bearings’ surfaces will reveal if there is any pitting and thus any need to replace either ball bearing or cup. Grease it all up, replace the lockring and you are good to go.

